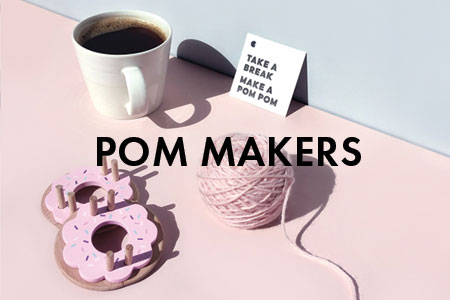
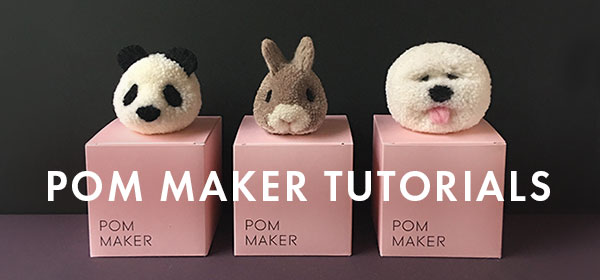
POM MAKER TUTORIAL
How to make tiny pompomsMake these cute mini pompoms with your Pom Maker
Make these cute mini pompoms with your Pom Maker
POM MAKER TUTORIAL
How to make tiny pompomsMake these cute mini pompoms with your Pom Maker
Make these cute mini pompoms with your Pom Maker
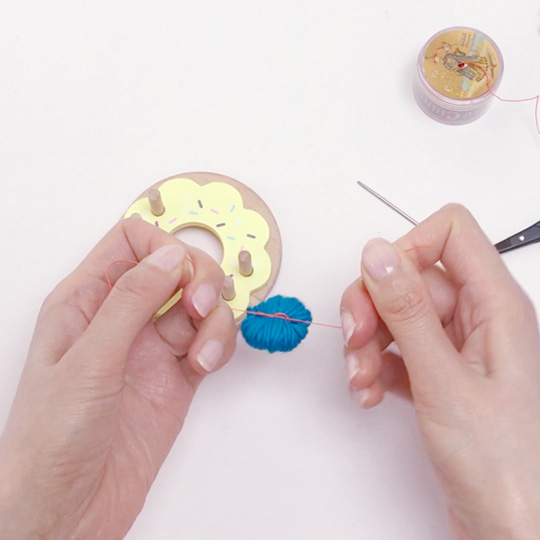
Yes, you can also make teeny tiny pompoms with our Donut Pom Makers!
This is more of a ‘Pom Maker Hack’. There are many other cool tricks you can pull off with our Pom Maker as well as making your usual satisfying fluffy pompoms. Making this cute tiny pompom with your donut is the cherry on top, let’s do it!
What you need

Also
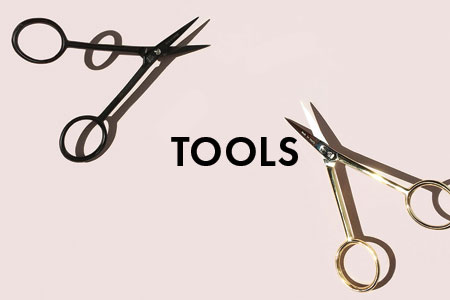
- a needle – tapestry needle (with a large eye and blunt tip) is good, but any sewing needle you have at hand will be fine.
- You only need one half (which is one full circle with a frosting) of your Pom Maker.
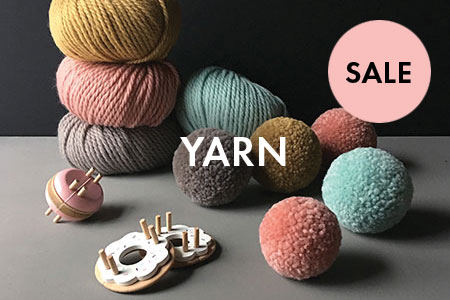
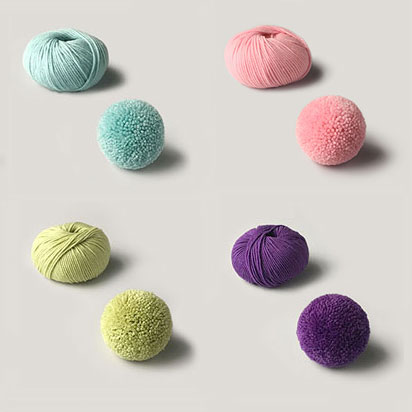
- Yarn choice here is quite important. Because the pompom is so small, only soft wool works well. Soft spun merino yarn works best. See more below for yarn comparisons and recommendations.
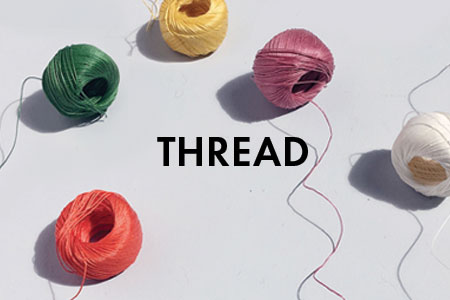
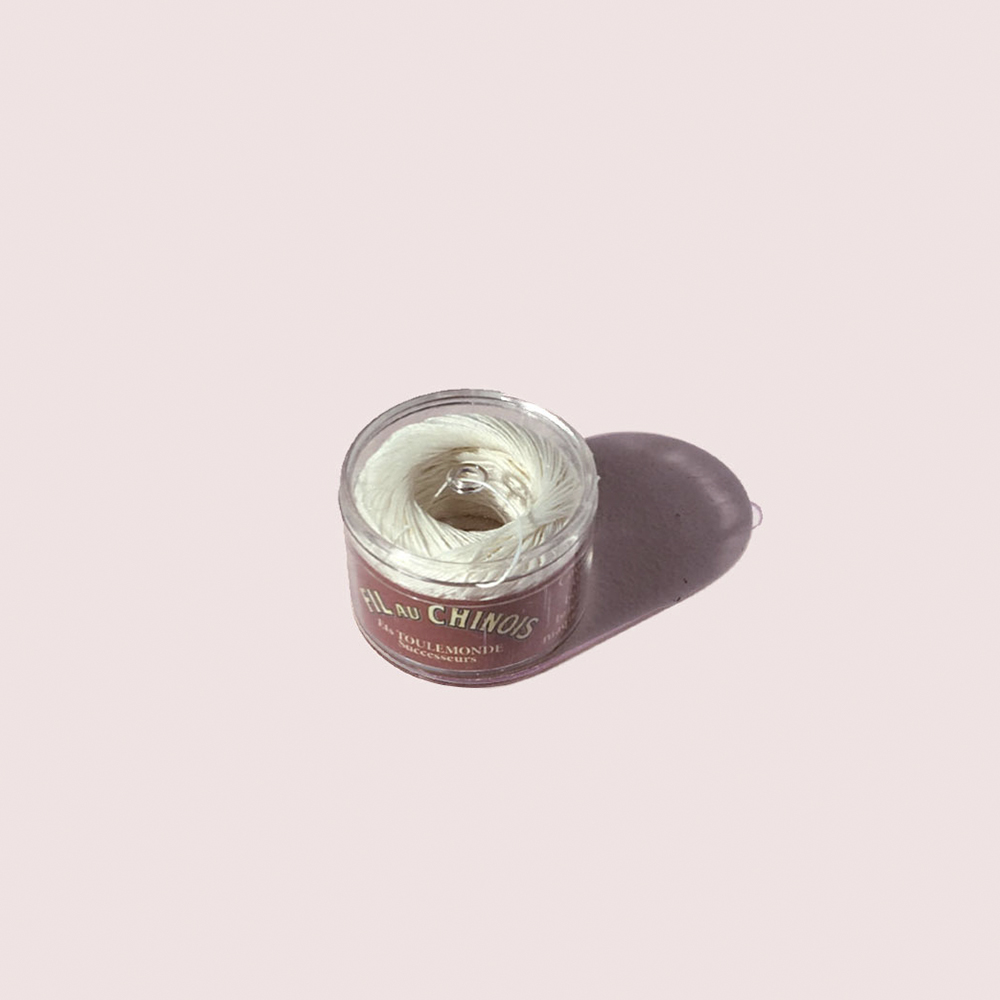
- Waxed thread is very effective for making these tiny pompoms, but you can use normal thread
STEP BY STEP
Follow our detailed tutorial below for making a yarn pom pom dog
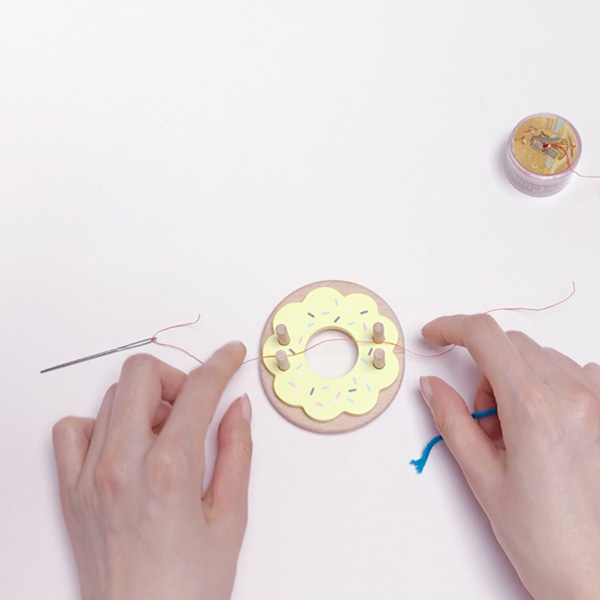
1.
Thread the needle and place on top of Pom Maker
2.
Wrap away
Wrap your wool around the two small bars, on top of the thread you’ve placed below.
Wrap it with normal tension. Don’t pull the yarn too tight, if the wrap is too tight it’s harder to pull the bundle off later.
In the video example, we wrapped about 40 – 50 times with DK merino yarn, but feel free to experiment with your yarn.
Choosing the Yarn
Because the pompom’s so tiny, the yarn needs to be especially supple and soft. We found most yarn described as Merino extrafine/superwash in DK or Aran weight works best – the ones with a soft bouncy feel and good elasticity.
Examples are; Debbie Bliss Rialto DK, Rico Baby Merino DK, Drops Merino Extra Fine, Milla Mia Naturally soft Aran, Cascade Yarns Longwood Sport etc.
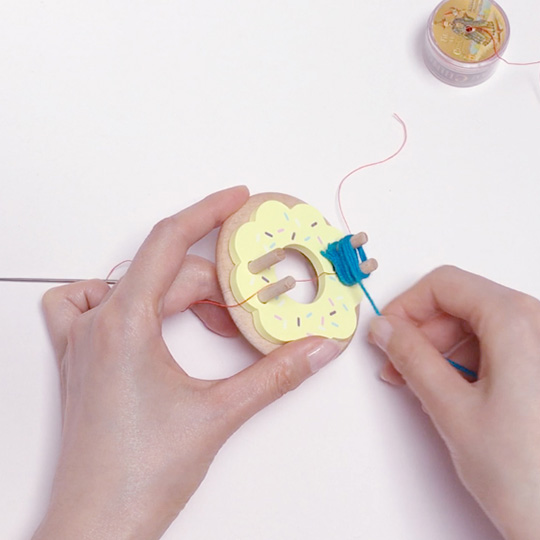
3.
Make the first knot
When you’re finished with wrapping, tuck in the cut end. Make one simple knot over the yarn. Slightly pull it just until the knot is sitting on top of your yarn, but not pulled more than this just yet.
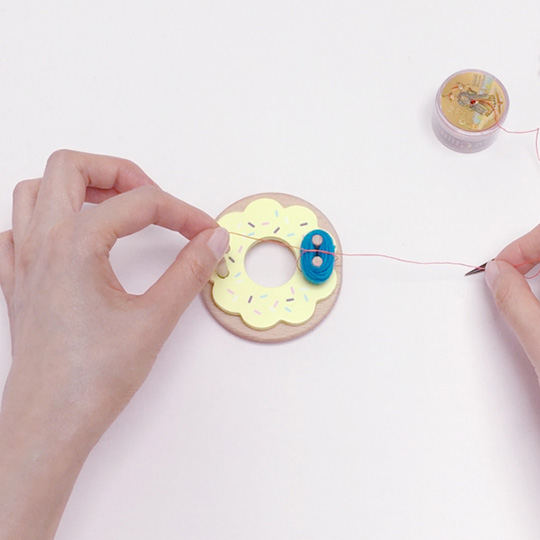
4.
Insert the needle under the yarn and make another knot
Insert the needle under the bundle of yarn and take out through the other end so you can make the second knot.
Repeat this one more time to make the third knot.
Don’t pull the thread tight while you’re making these 3 knots.
5.
Take off the yarn bundle and tighten the knot
Now take your little bundle of yarn off the Pom Maker. Pull the waxed thread hard and tight as soon as you take the yarn bundle off.
Multiple knots will create good friction with the waxed thread and it won’t slip back and loosen again. Very neat! Same as what we showed in our previous post about how to tie your pompom with waxed thread.
Add another knot to secure it and finish.
If you’re using normal thread, it will loosen while you’re trying to secure the knot. Just make sure to pull tight and make your final knots before it loosens too much. A tight center is very important for good pompoms.
You’ll have a cute button shaped looped yarn bundle as in the photo.
6.
Trim
Unlike a standard pompom you make with Pom Maker, this one is not wrapped around an arc, but between two bars, so it will not be that spherical at first.
Trim around the edge to cut off the outer yarn. Then cut through the remaining looped yarns inside.
Trim the longer yarns until you have a small spherical ball shape. It shouldn’t need much of a trim, being so tiny to start with!
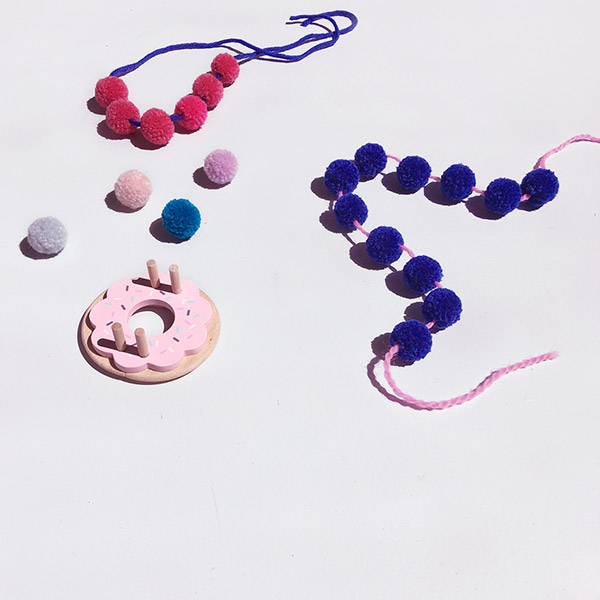
Have fun!
They are addictive to make, super cute and so versatile.
Thread them as parts of necklaces, bracelets, make trimmings for your cushions, blankets, curtains or even beach cover-ups. Attach them to your shirts and skirts to make them adorable. Perfect for your sandals and beach bags, pouches and purses… so many ideas!
Have lots of fun!
Don’t forget to share with #WeArePom Makers
- SHOP
- TUTORIALS
Pom Maker Hacks
For Kids & Holidays
- SOCIAL POM POM