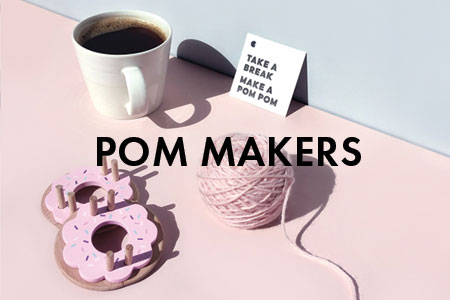
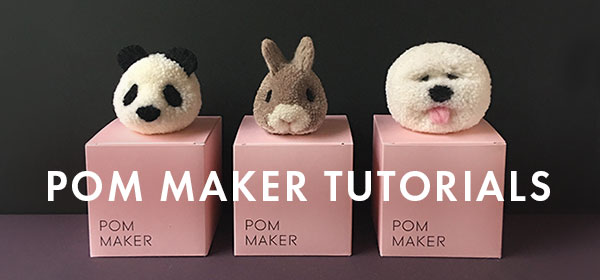
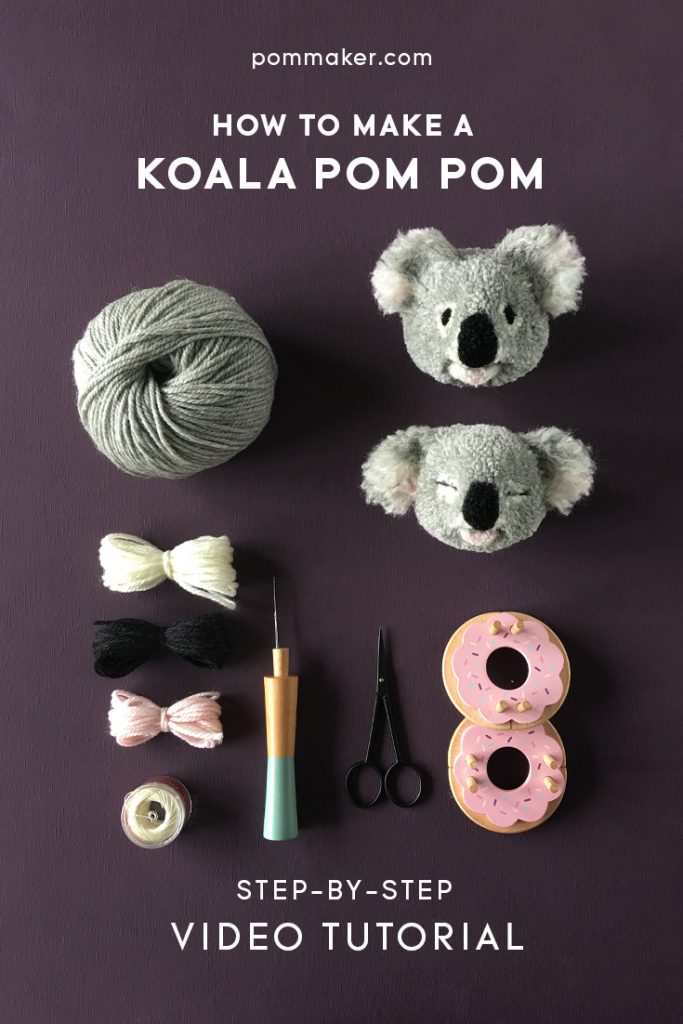
POM MAKER TUTORIAL
How to make a koala pom pom
Learn how to make a cuddly pom pom koala with Pom Maker
POM MAKER TUTORIAL
How to make a koala pom pom
Learn how to make a cuddly pom pom koala with Pom Maker
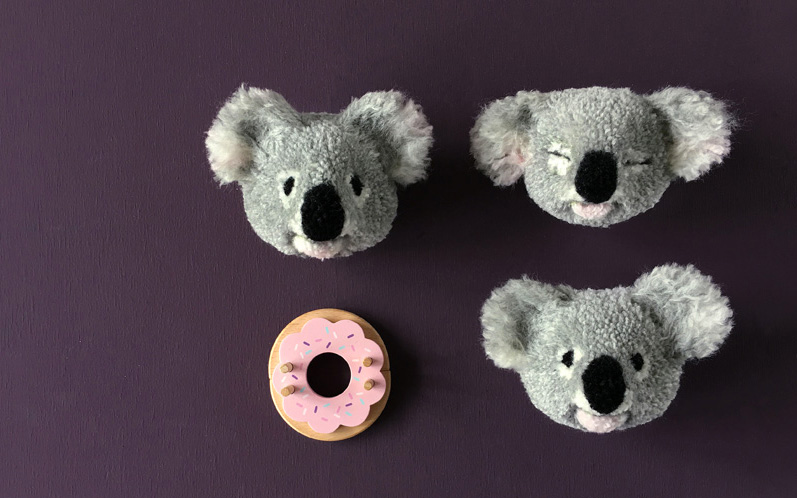
Koalas give the best hugs! Let’s learn how to make this fluffy hugger (the perfect pompom pet!) with your Pom Maker.
Watch our step-by-step tutorial video for the whole process. You can also refer to the picture & text tutorial below to revisit each step as you need.
We used our medium size Donut Pom Maker in this tutorial, but try with the small Pom Maker too for smaller baby koalas. You can use thinner yarns for the small ones.
Make sure to wrap yarns in each step as tightly and neatly as possible. Also wrap until the Pom Maker is completely full for the best result.
Happy crafting!
What you need

Also
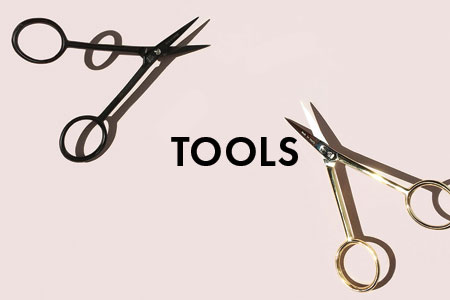
- Large fabric scissors
- Felting needle to make the ears
- Blow-dry brush (see how you use this in the tutorial!)
- Waxed thread is optional, but recommended. Use very strong non-slip thread if you can. You can also use dental floss.
- ideally one large and strong pair of fabric scissors for cutting the pompom and one small and sharp pair for some precise trimming (optional)
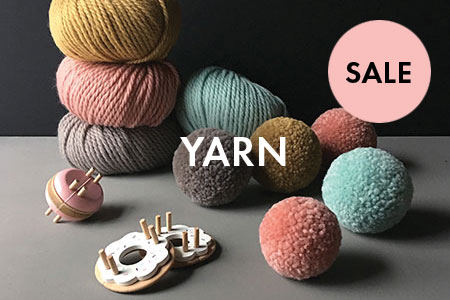
Choosing your yarn
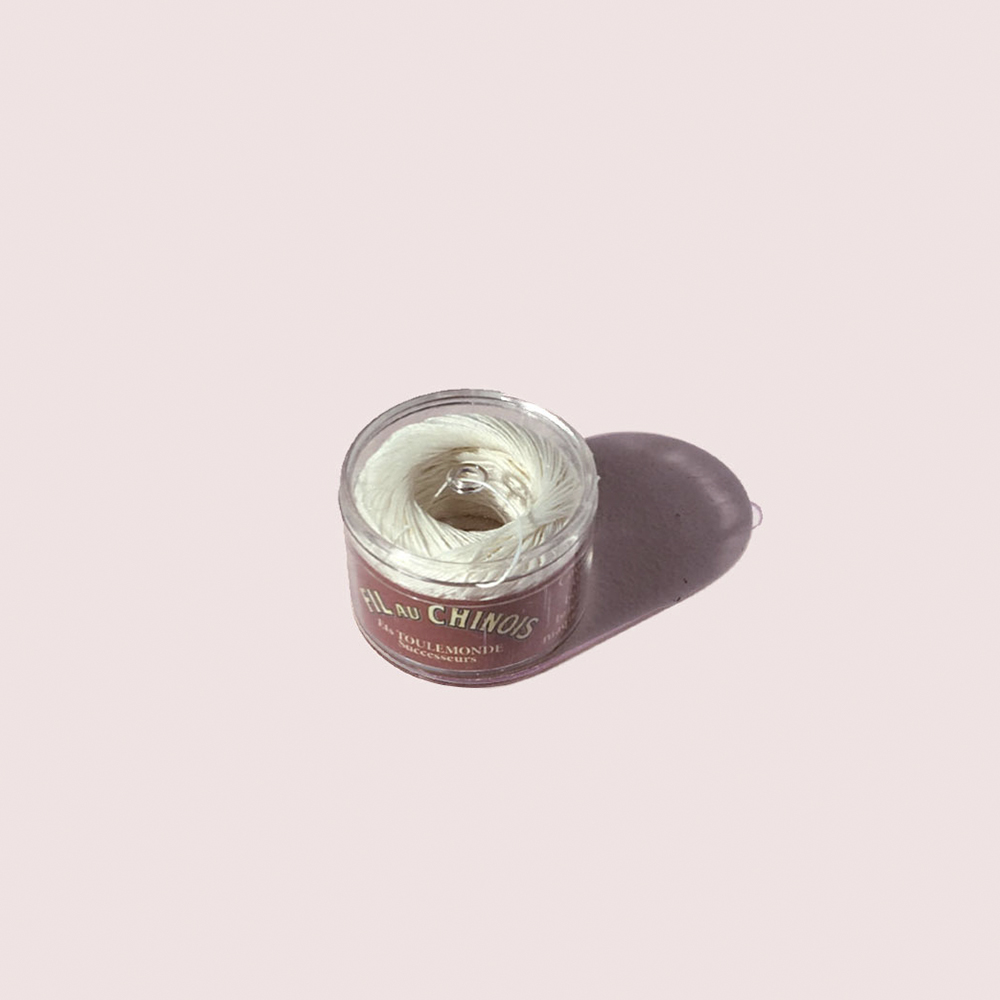
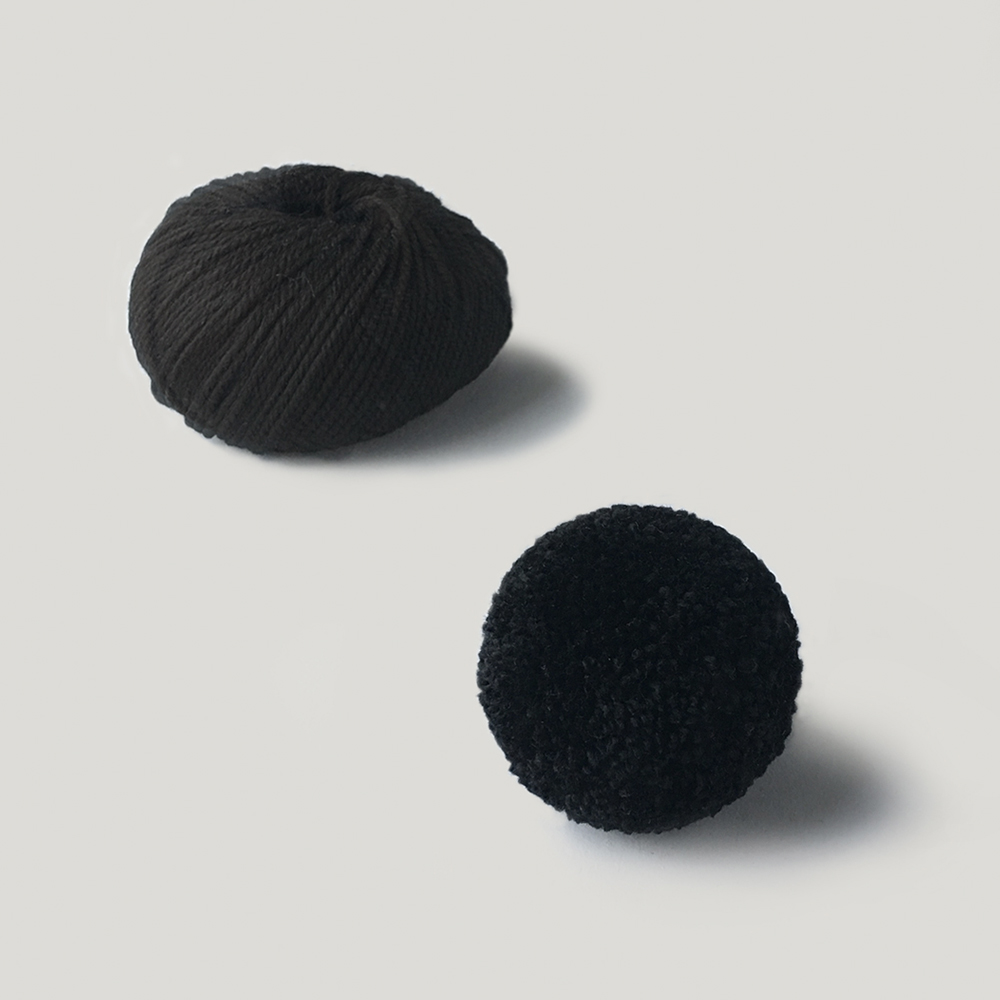
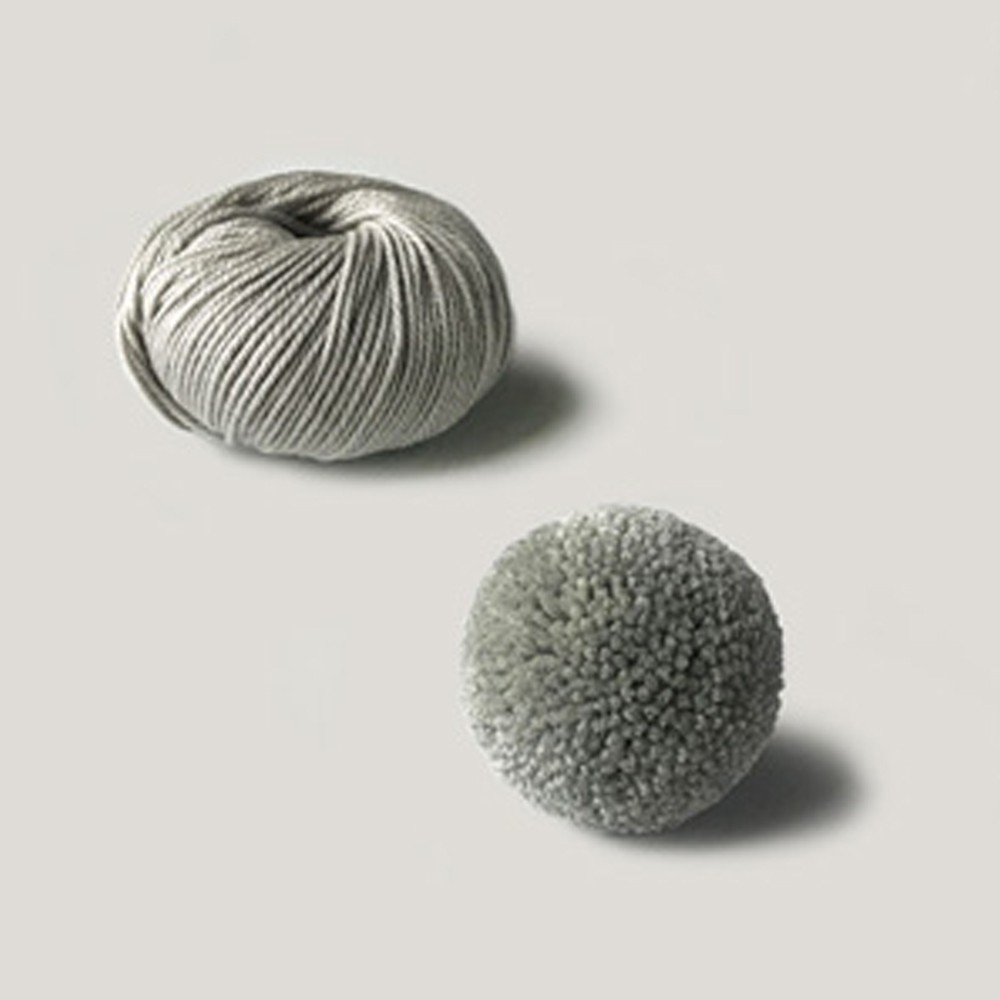
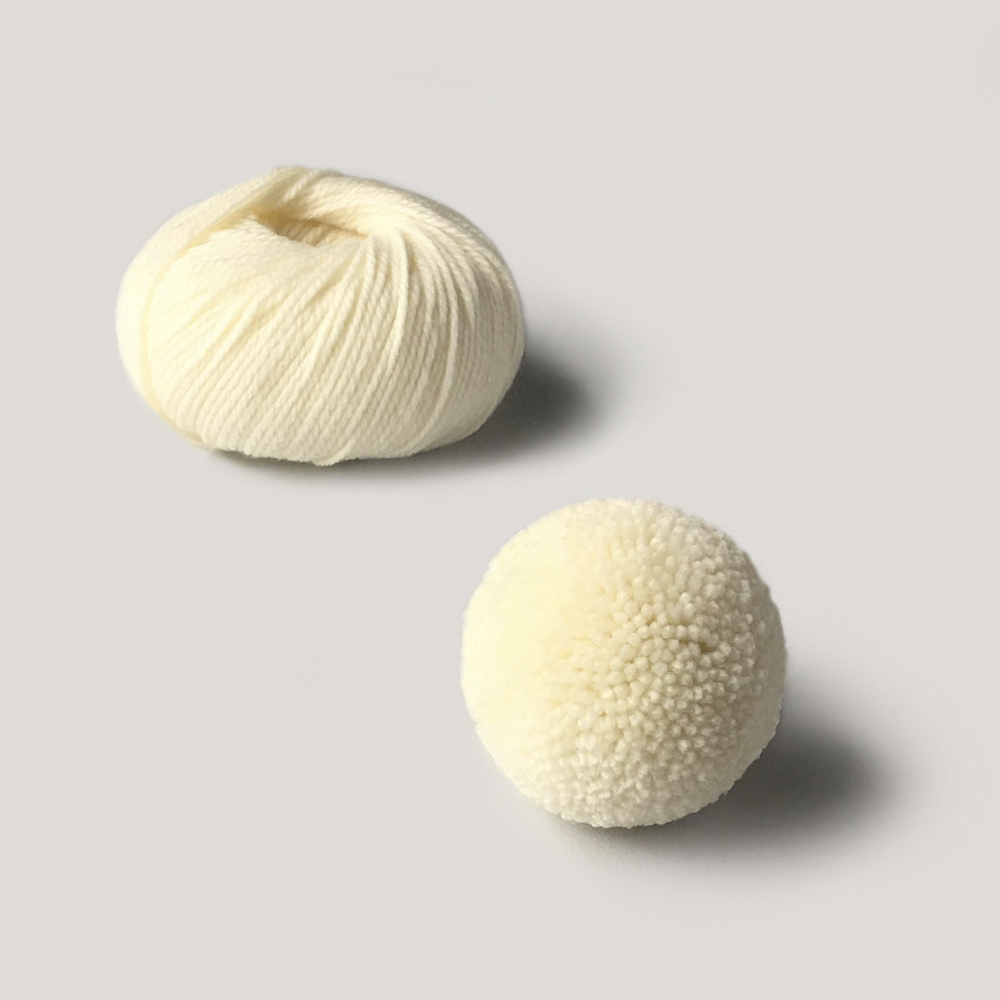
- Choose nice and soft yarn, such as wool and alpaca or merino blends for the fluffiest koalas. DK or Aran weights work well. If you use DK, simply wrap a tiny bit more in each step to match the volume of Aran.
STEP BY STEP
Follow our detailed tutorial below for making a yarn pom pom koala
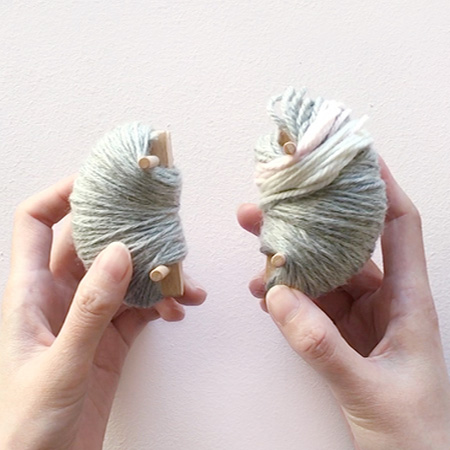
1.
Long Black Nose
Wrap approx. 25 counts of black yarn. Start from a slightly off center position and wrap towards the opposite end.
Create an area slightly wider than your thumb as koalas have long noses.
2.
White Around The Nose
Koalas have white patches to the sides of the nose above the mouth.
Wrap a small amount of white yarn on top of the black yarn, on the end that’s nearer to the end of the wooden arc.
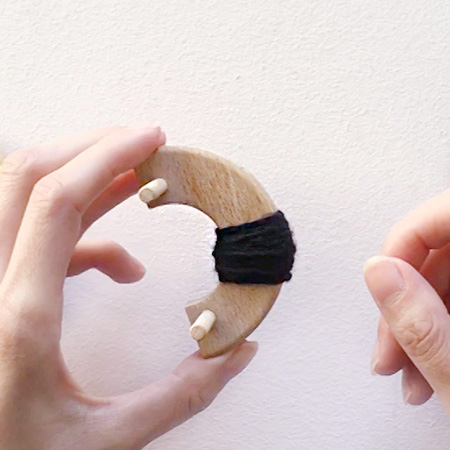
Now cover the whole nose area with grey yarn.
3.
Mouth Line
Wrap dark grey yarn approx. 5 times in one layer at the end of the grey yarn close to the end of the wooden arc. It needs to be on top of the grey yarn, right at the end.
4.
Chin
Wrap some pink yarn first, and then white yarn on top below the mouth line, in the chin area.
Cover it with one layer of grey yarn.
5.
Eyes
A Koala’s eyes are surrounded with white fur.
Firstly, wrap white yarn in the center of the arc, tightly in a narrow spot.
Wrap black yarn in the middle of this white, tightly in an even smaller spot.
Now cover this area with more white yarn.
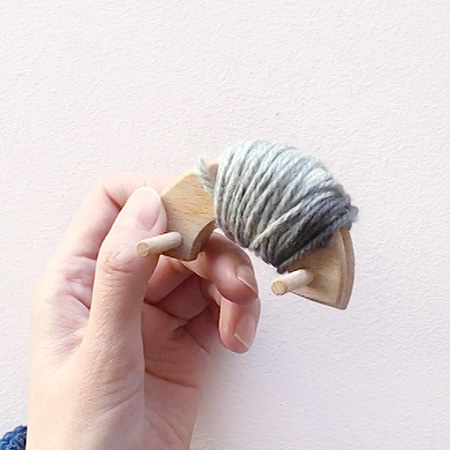
6.
The Rest
Cover everywhere in grey yarn.
Wrap until the Pom Maker is completely full. The more yarn you wrap, the denser your pompoms will be and they’ll have a good full look.
7.
The Ears
Place your index and middle fingers over the head end.
Wrap about 10-12 counts of longer loops in grey yarn. Add some pink and white yarn on top too.
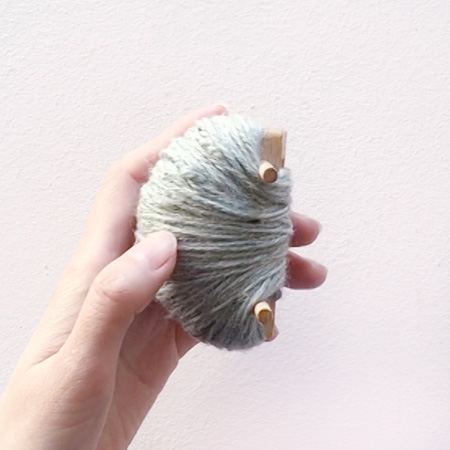
8.
The Other Half
Wrap the other half entirely in grey yarn. Wrap enough to match the volume of the first half. This will be the back of the head.
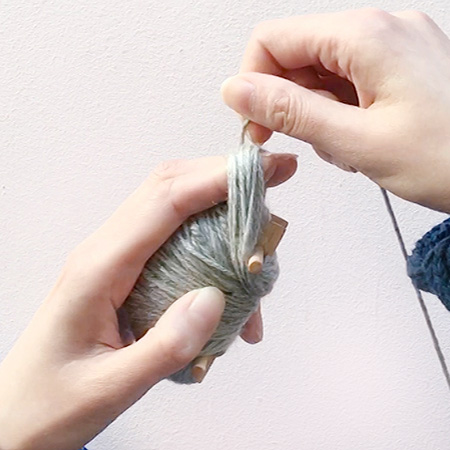
9.
Finish Up The Pompom
Bring the two halves together and assemble your Pom Maker.
Cut and tie as tightly as possible.
If you’re new to Pom Maker, check out these two basic tutorials:
How to make a pompom with Pom Maker
The best way to tie a pompom
10.
Trim The Face
Start by cutting away big chunks over the eyes.
Take care not to cut the black yarn for the nose or the longer yarns for the ears.
Trim around the eyes and the face to remove long, rough yarns.
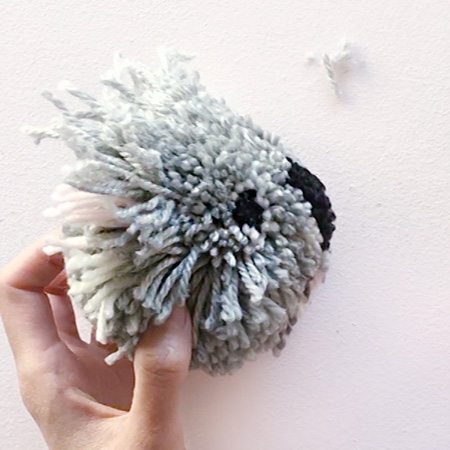
11.
Trim The Head
Trim the head area above the nose. You can trim a small amount of the black nose yarn on top to create a curved profile as in the photo.
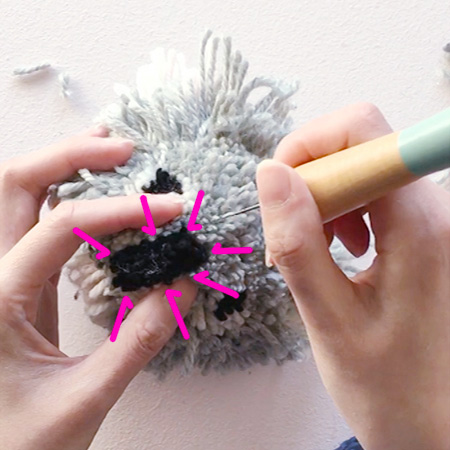
12.
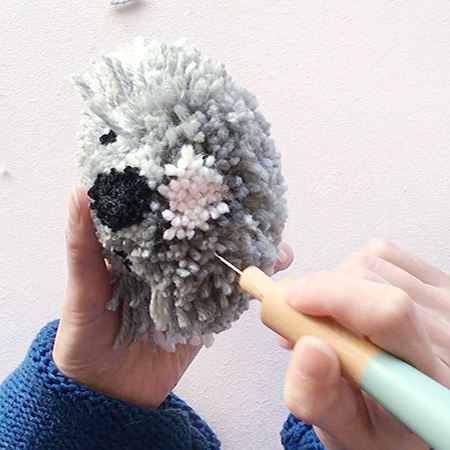
Felting The Nose
Poke your felting needle all around the nose, pointing towards the center of the nose to fix it into a nice round and long shape.
Be careful! If you’re not experienced in using a felting needle we recommend using thimbles.
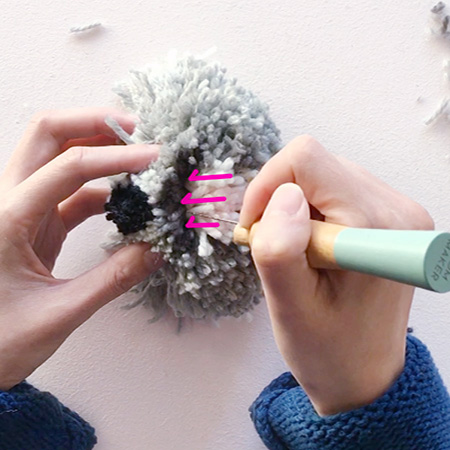
13.
Mouth Line
Separate the dark grey yarn from the pink/white chin yarn.
Felt the dark grey yarn by poking it from below towards the nose. Keep them in a single layer evenly spread right under the nose.
14.
Felting The Chin
Gather the pink and white yarn under the mouth together. Felt from all sides to keep them well compacted.
Trim the edges to form a small round chin shape.

15.
Fine Trimming And Felting
Continue trimming around the nose, mouth line and around the chin until the features are refined.
Repeat felting these areas too until they look good.
16.
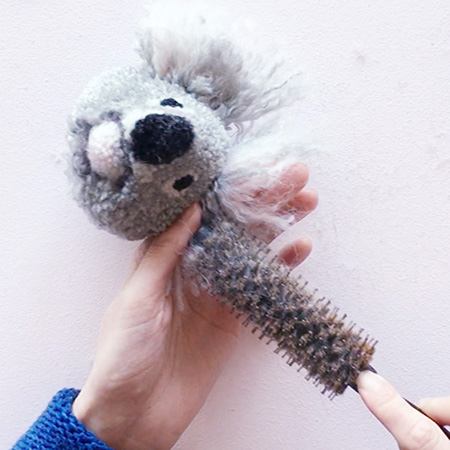
Unravelling The Ear Yarn
Gently brush the ear yarn towards the outside with the blow-dry brush. Repeat with light movements until the yarn is unravelled and looks very fluffy.
17.
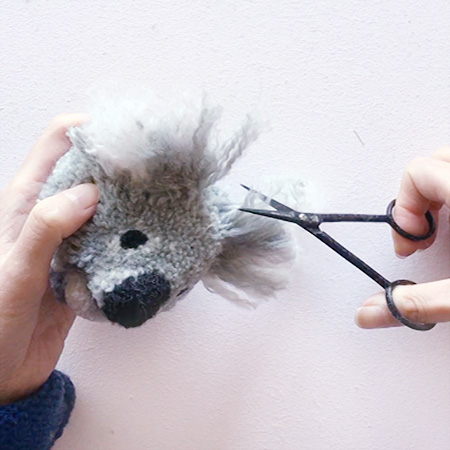
Felting And Trimming The Ears
Felt the ear. Focus on the lower part of the ear near the head.
Leave the outer edges unfelted so they look fluffy and loose. We love this part of the koala!
Trim them into nice big round shapes.
Give me a hug!
Now your koala pompom is ready to eat, sleep and hug a tree.
Happy pompom making & don’t forget to share with #WeArePomMakers
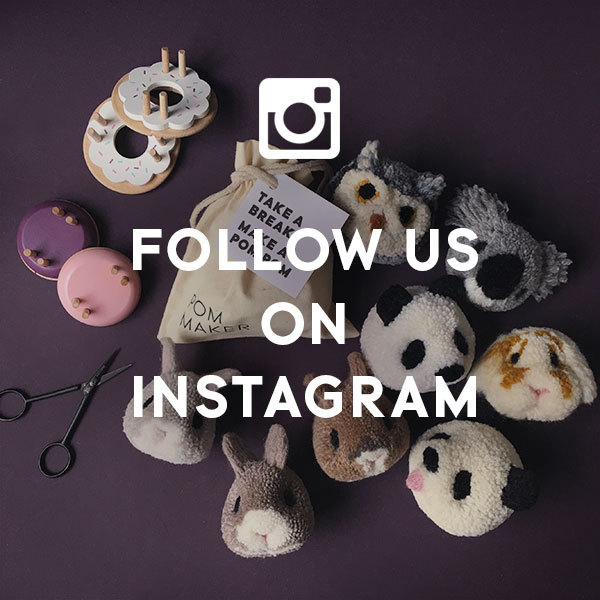
We’re over at @pom.maker and @wearepommakers on Instagram.
We also have a Facebook group where you can show your work and share tips with fellow crafters. Come and join us!
We love to see your creations!
- SHOP
- TUTORIALS
Pom Maker Hacks
For Kids & Holidays
- SOCIAL POM POM