Cut all the way around!
As usual, it’s good to tie your pompom really tight. In this video, we tied it with waxed linen thread. You can loop it a couple of times or more until it stops slipping back and then tie. Use any strong thread or yarn.
Our first Pom Maker tutorial, after the basics, is a very cool eye pompom! This is great for a beginner who hasn’t yet tried creating a pompom with a design, but also something you’ll want to make again and again because it’s so cool that everyone you know will be asking for one.
You can make an eye brooch, add one or a few to your scarf, hat and bag for a quirky and witty bespoke fashion piece. How about eye pom pom earrings? It also makes an awesome toy!
The video shows you the whole process, with a secret tip right at the end.
Below, we’ve added a pattern for a handy visual reference for when you make it, plus some info about wrap counts for different sizes.
Now all eyes on the screen, let’s do it!
Follow our detailed tutorial below for making a pom pom eye ball
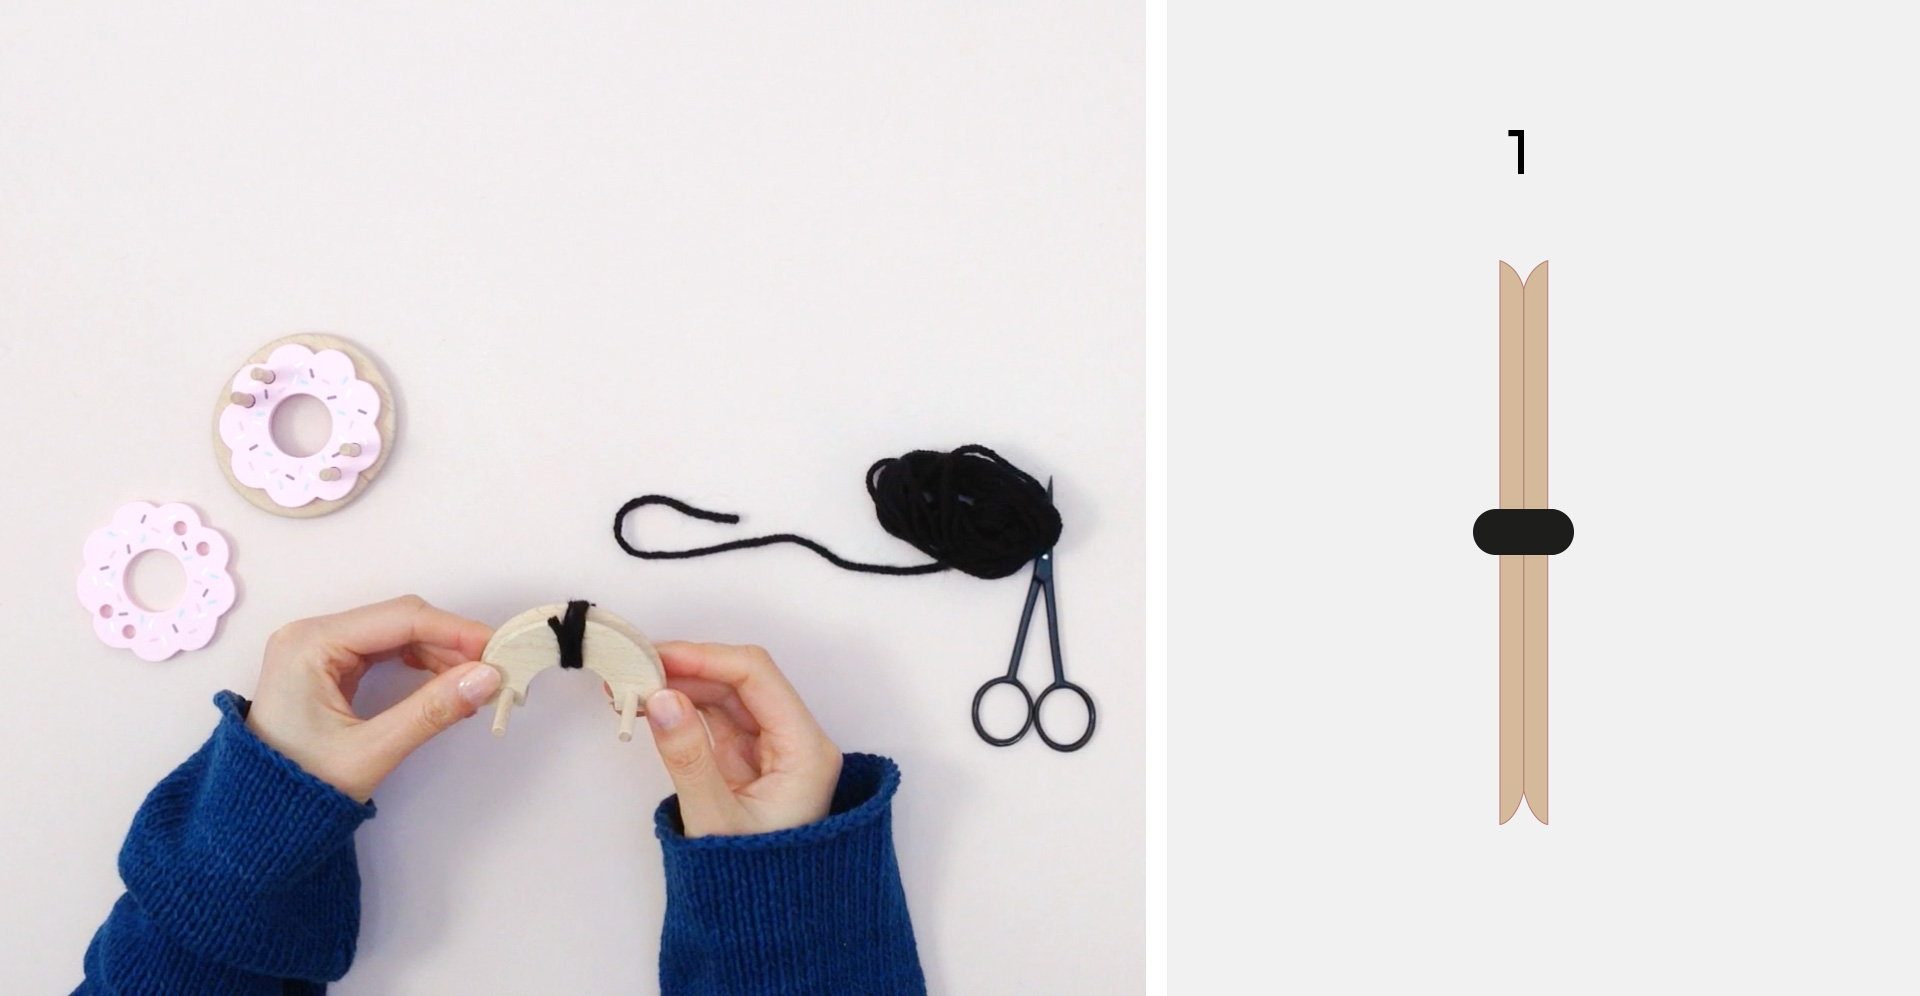
Wrap a few counts of black right in the middle of your pom maker. In the video, we wrap 6 counts. Wrap the layers close together and on top of each other, rather than spreading it out. Imagine a small circle.
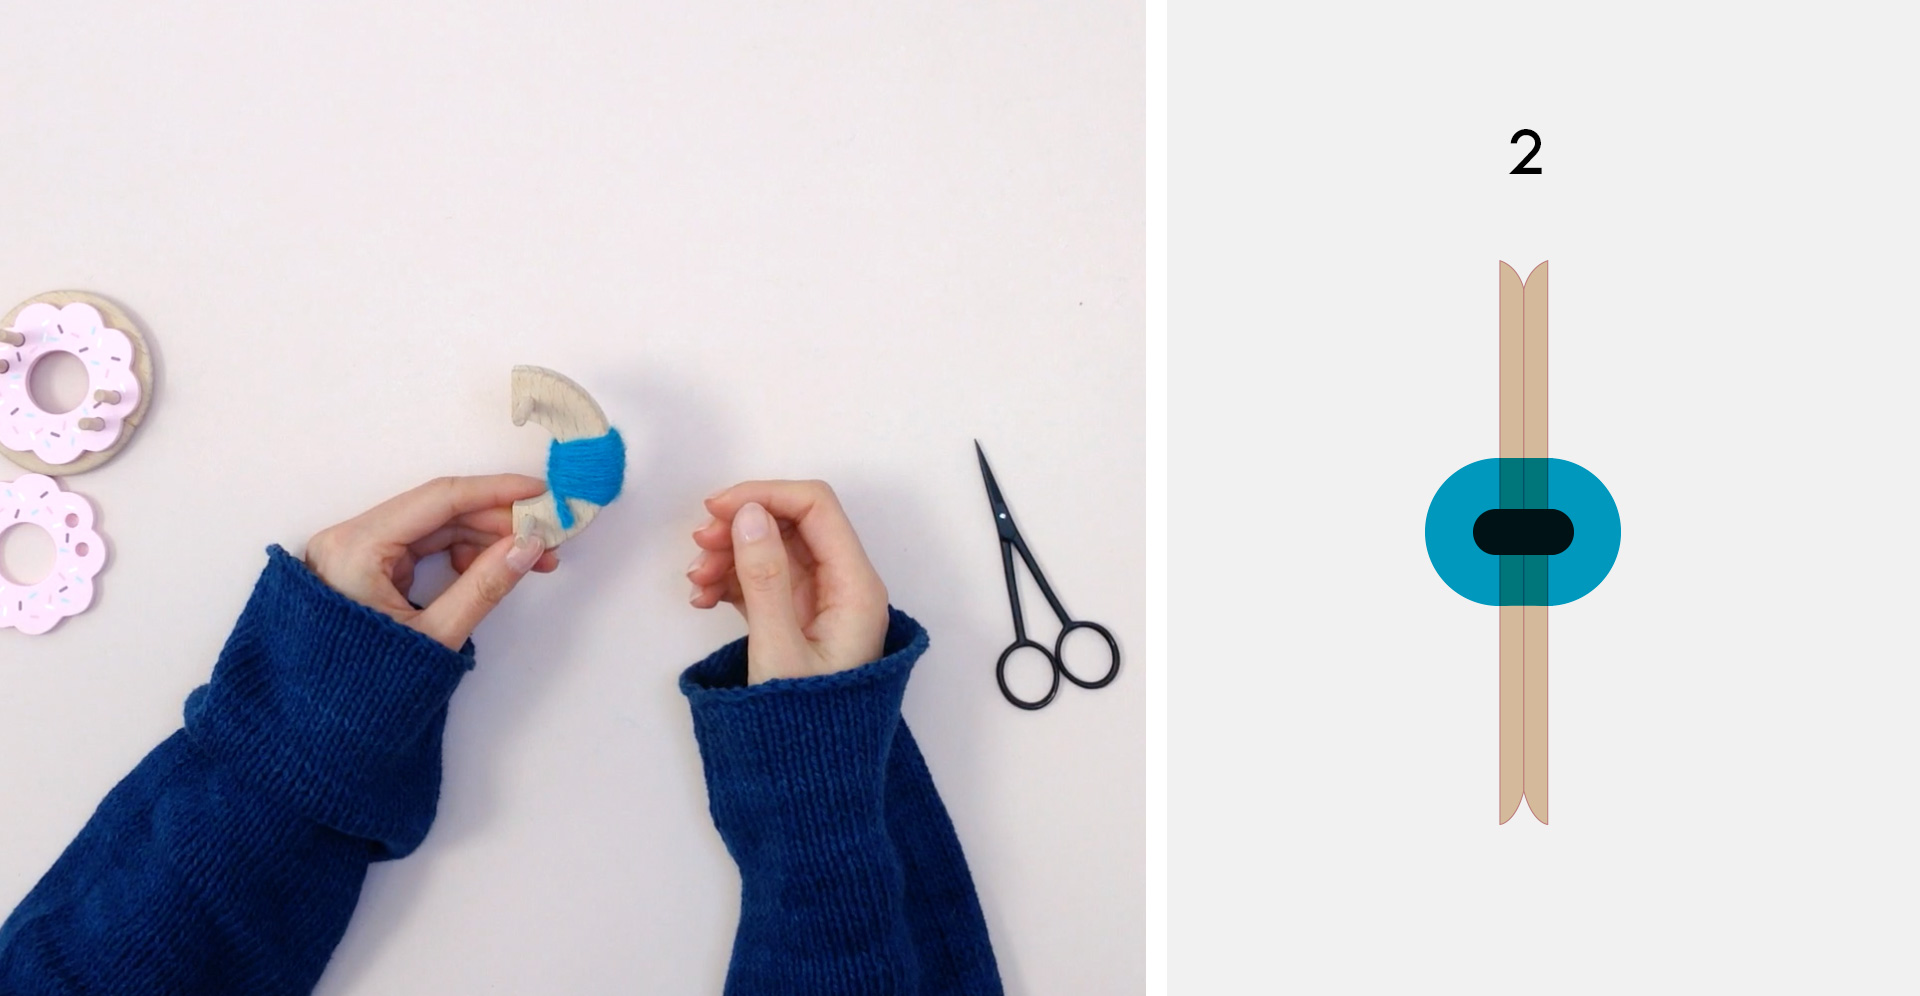
What’s your choice of iris color? Try blue, brown, green but also strange colors like purple and orange!
Wrap around and on top of the black. See the pattern to keep a visual in mind as you wrap. Try creating even layers circling all around the pupil.
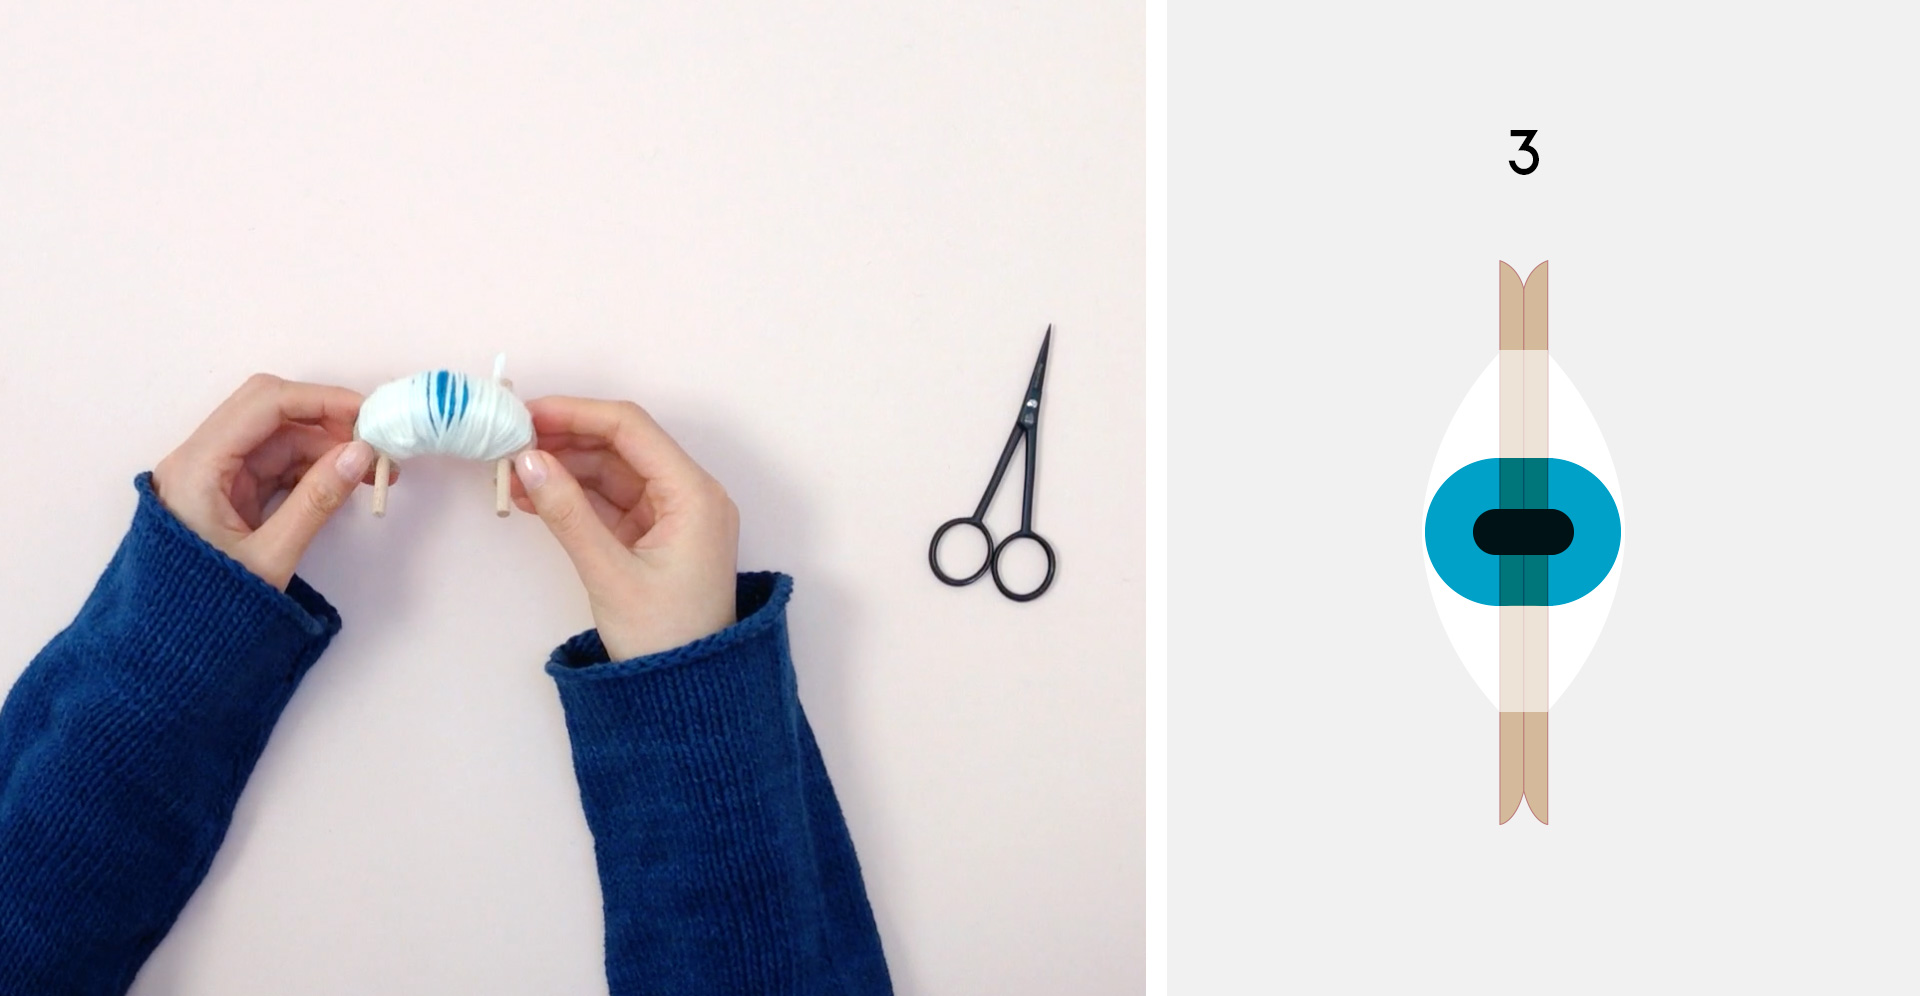
The easiest way to explain this is with a drawing, so refer to the diagram.
You can see that we want to make each end thin (only a single layer at the very end) and gradually ‘fill up’ the area towards the iris.
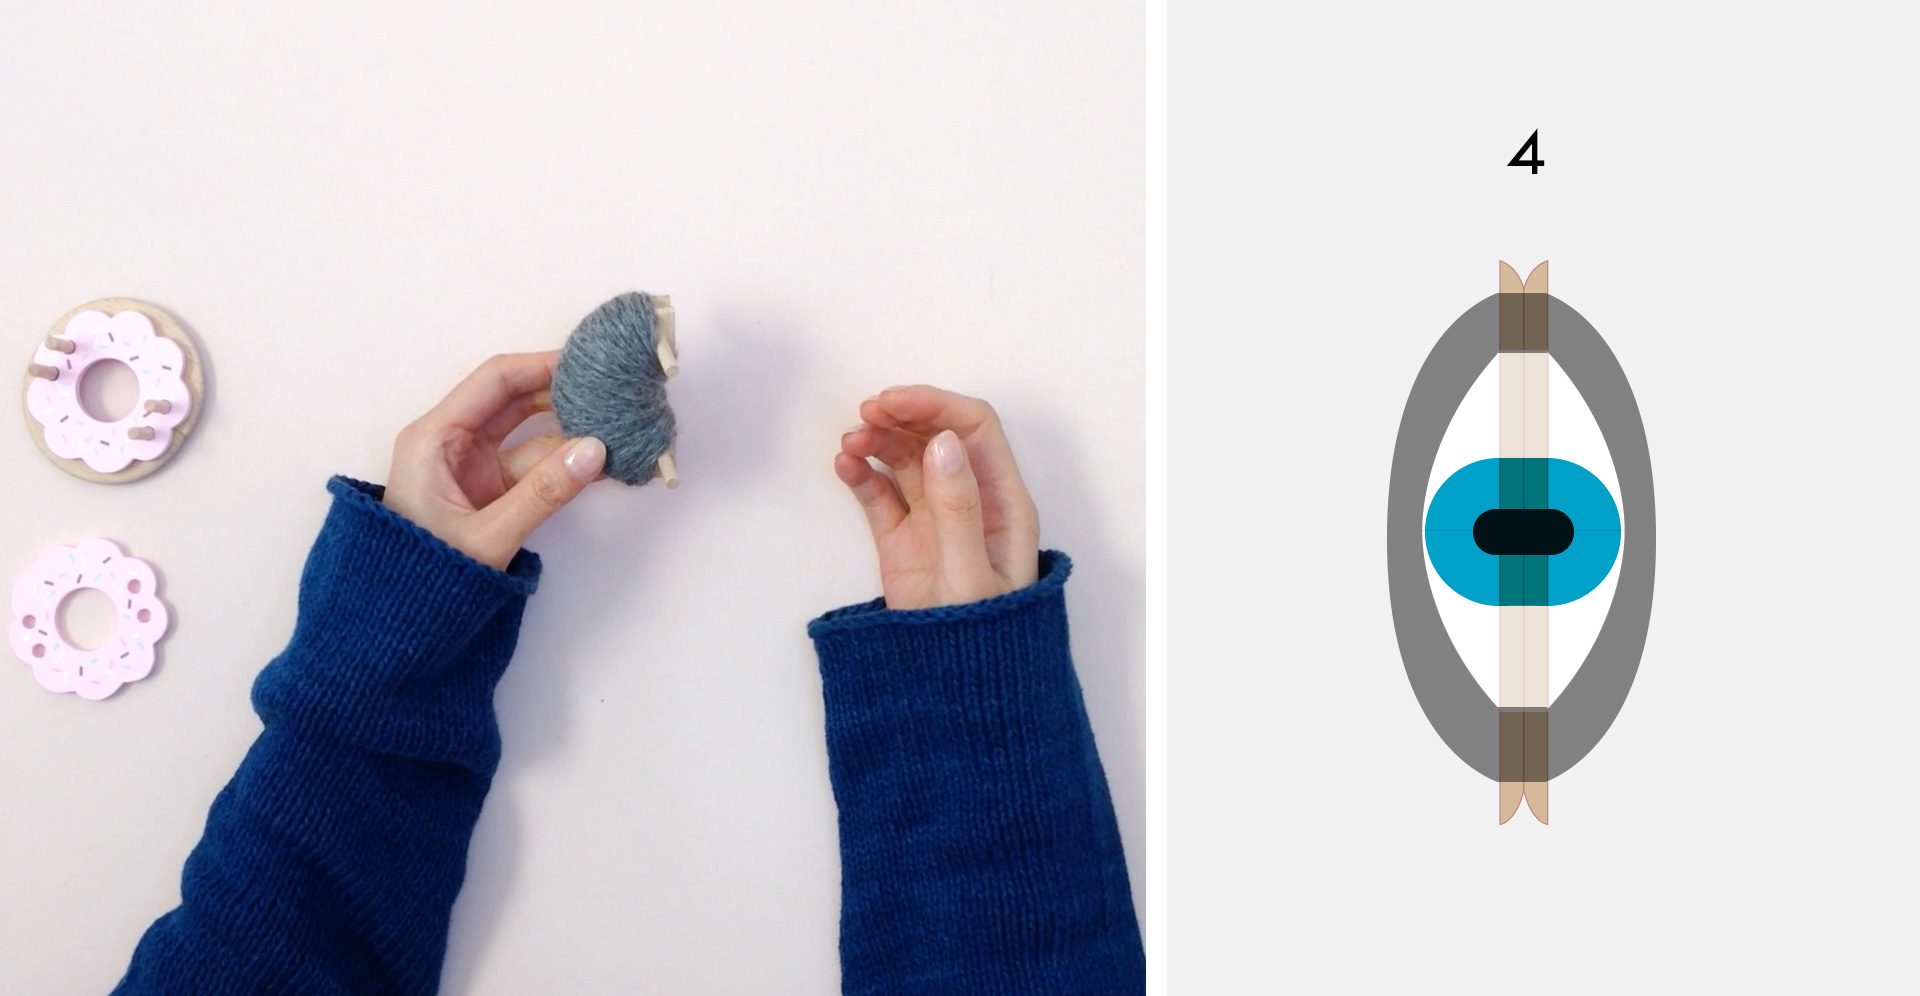
Choose a background color – it may be something that matches your sweater or a contrast color. Wrap all over, filling up the ends, to create an even layer from end to end.
Wrap the other half of Pom Maker in the same background color. This would be especially relevant if you’re making a brooch. But for a scarf or some other use, you might want to make another eye for the other side?
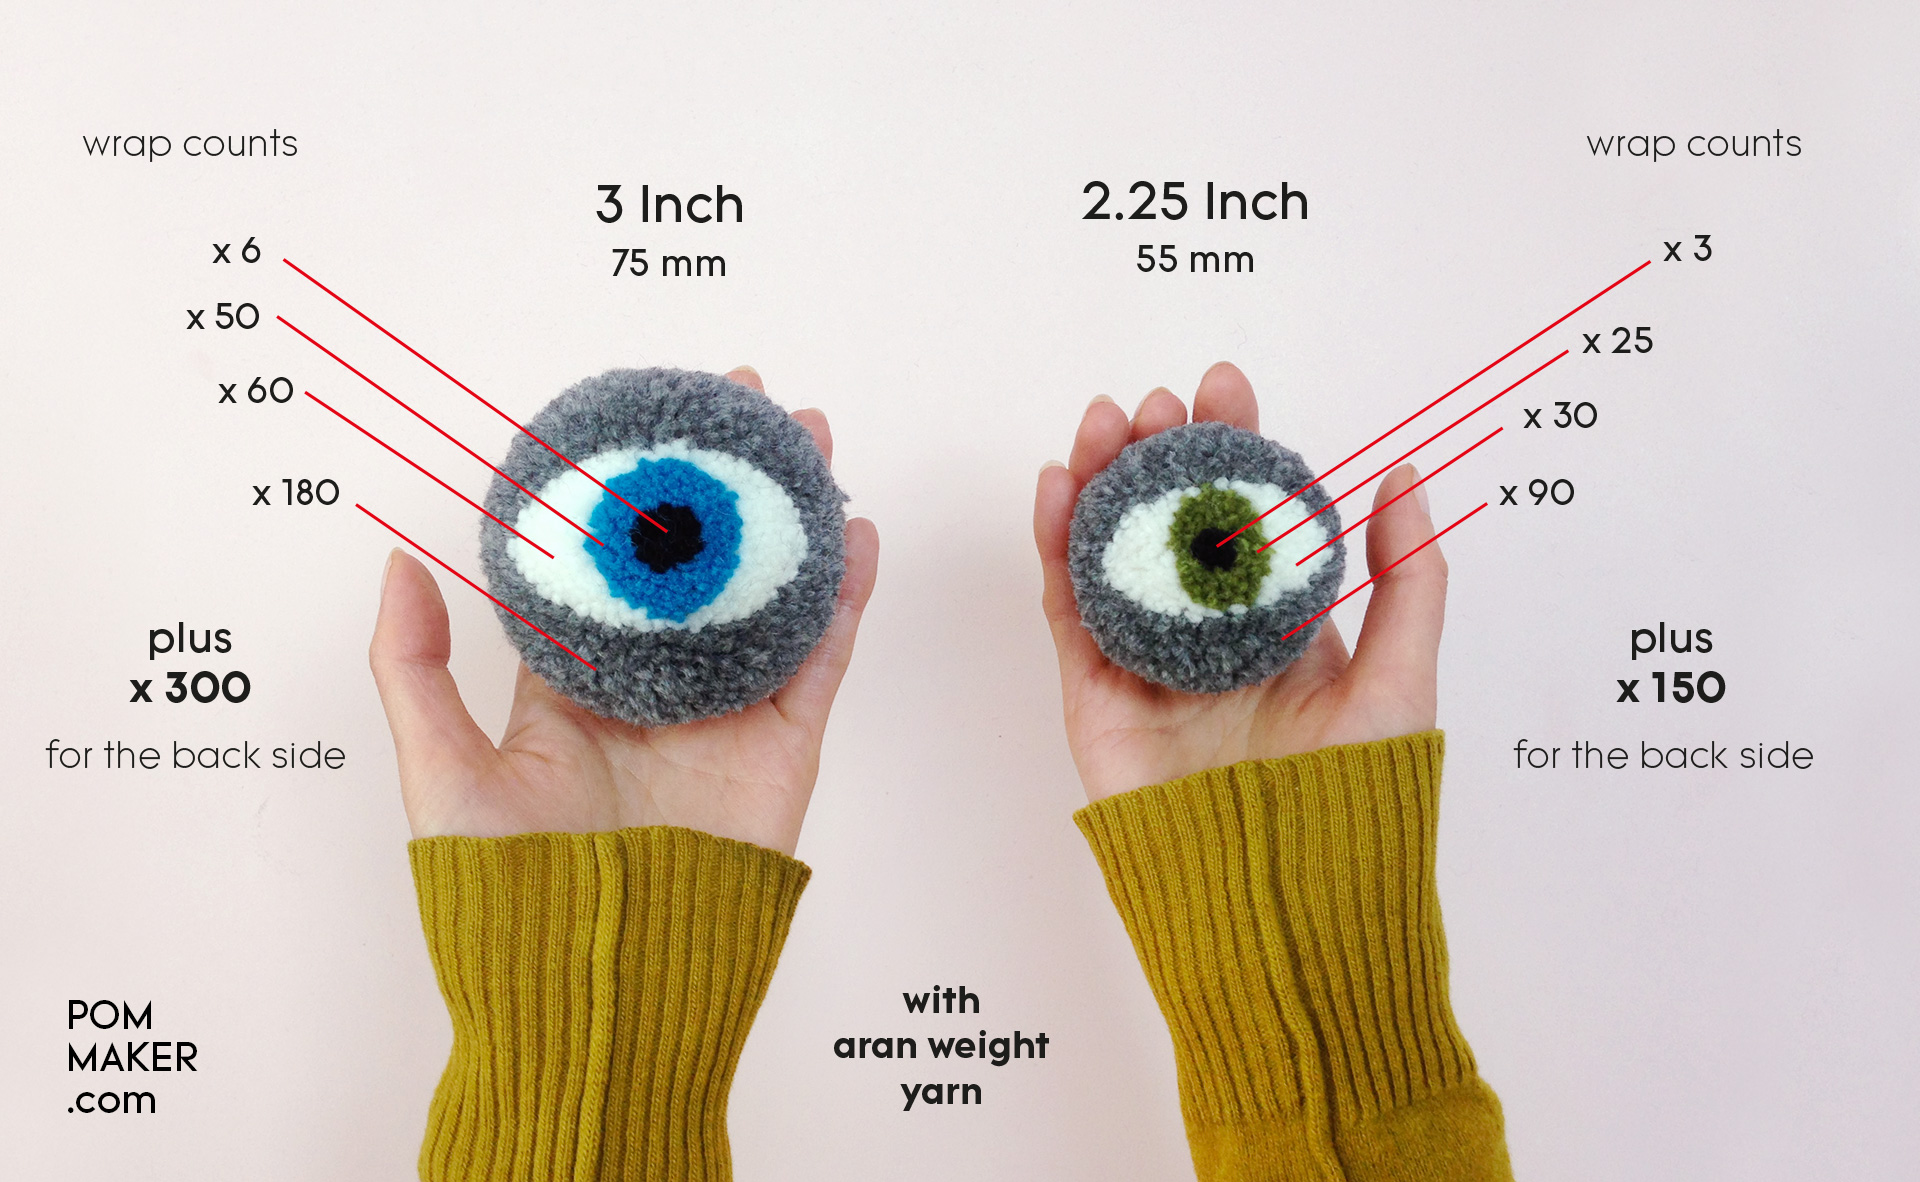
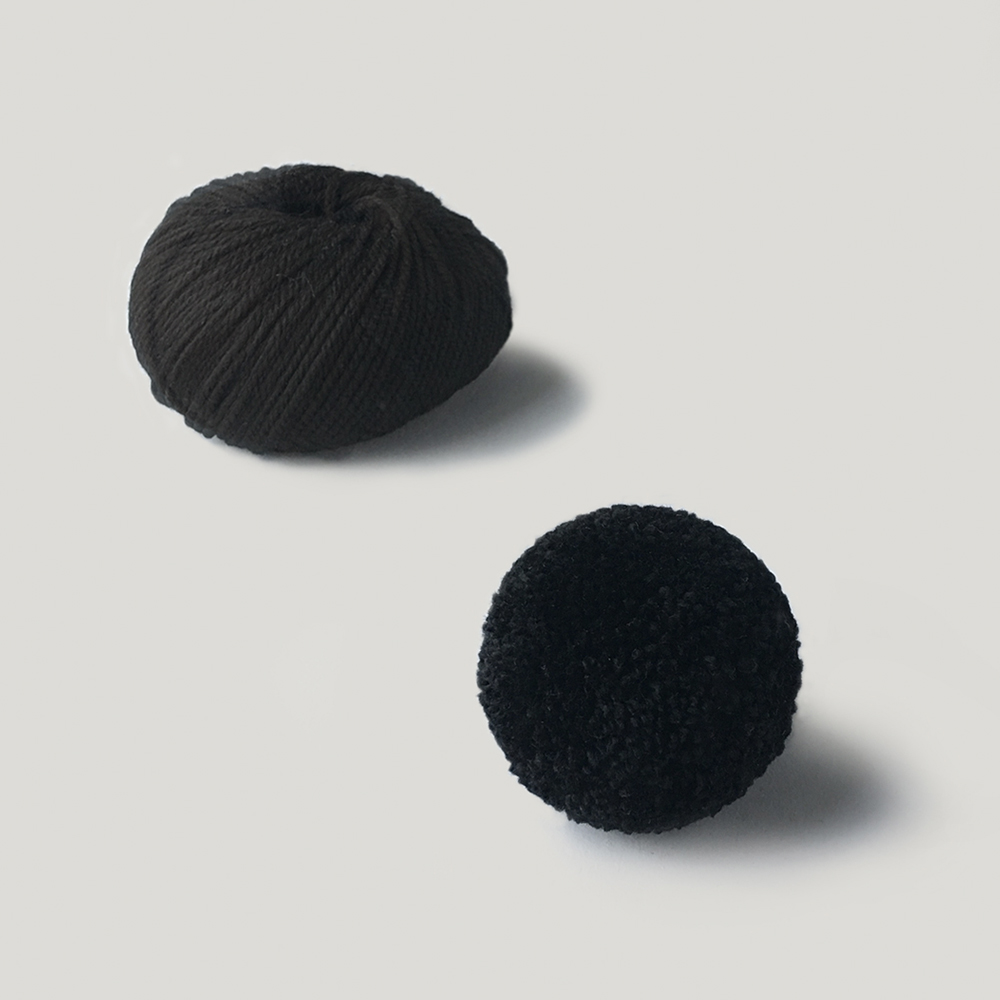
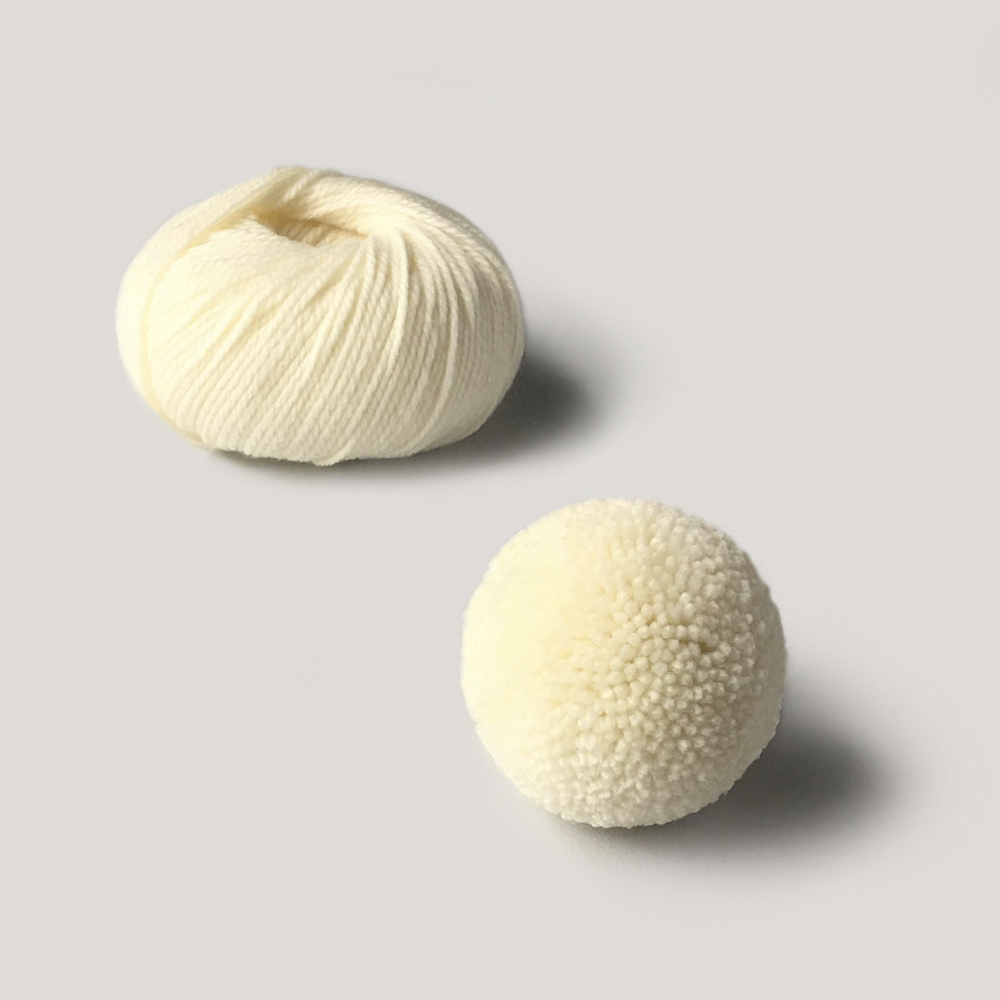
The wrap counts in the video are just examples. Above are two different sized pompom examples you can make with the same Pom Maker, using aran weight yarn.
You can make even smaller sizes with finer yarn. Probably a good choice if you want to make earrings.
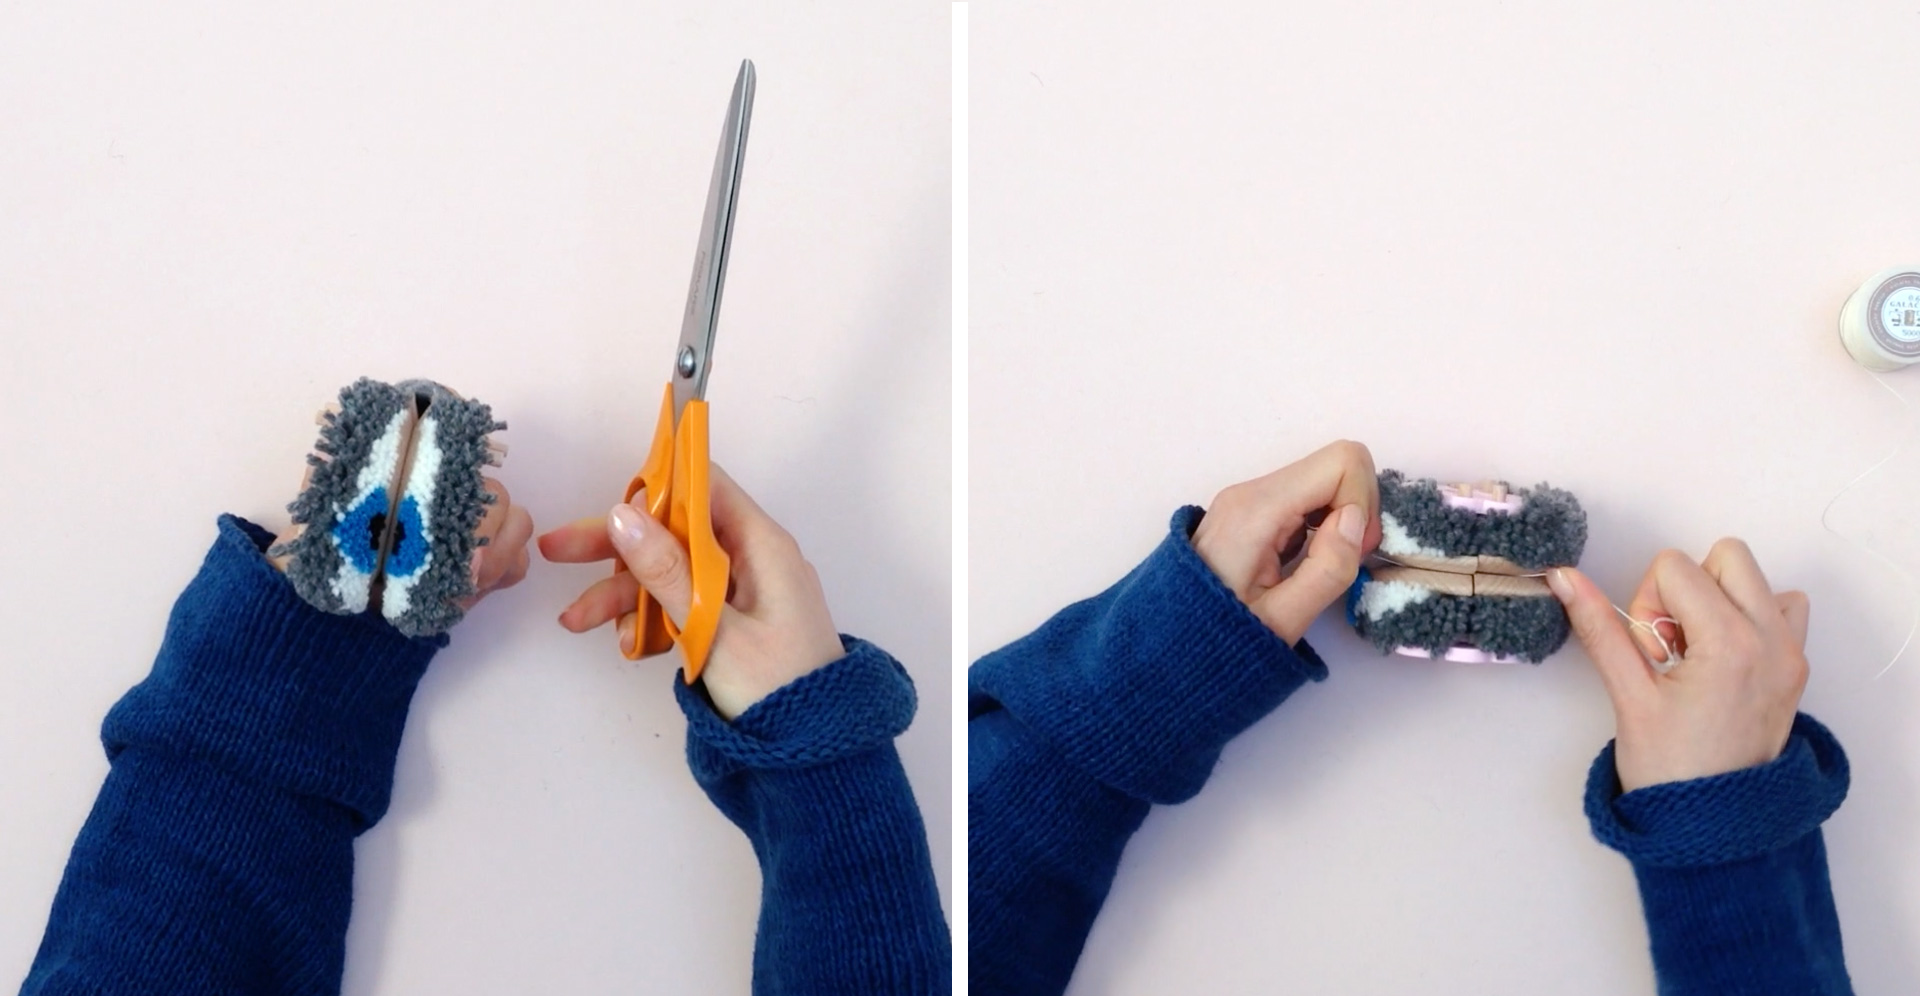
Cut all the way around!
As usual, it’s good to tie your pompom really tight. In this video, we tied it with waxed linen thread. You can loop it a couple of times or more until it stops slipping back and then tie. Use any strong thread or yarn.
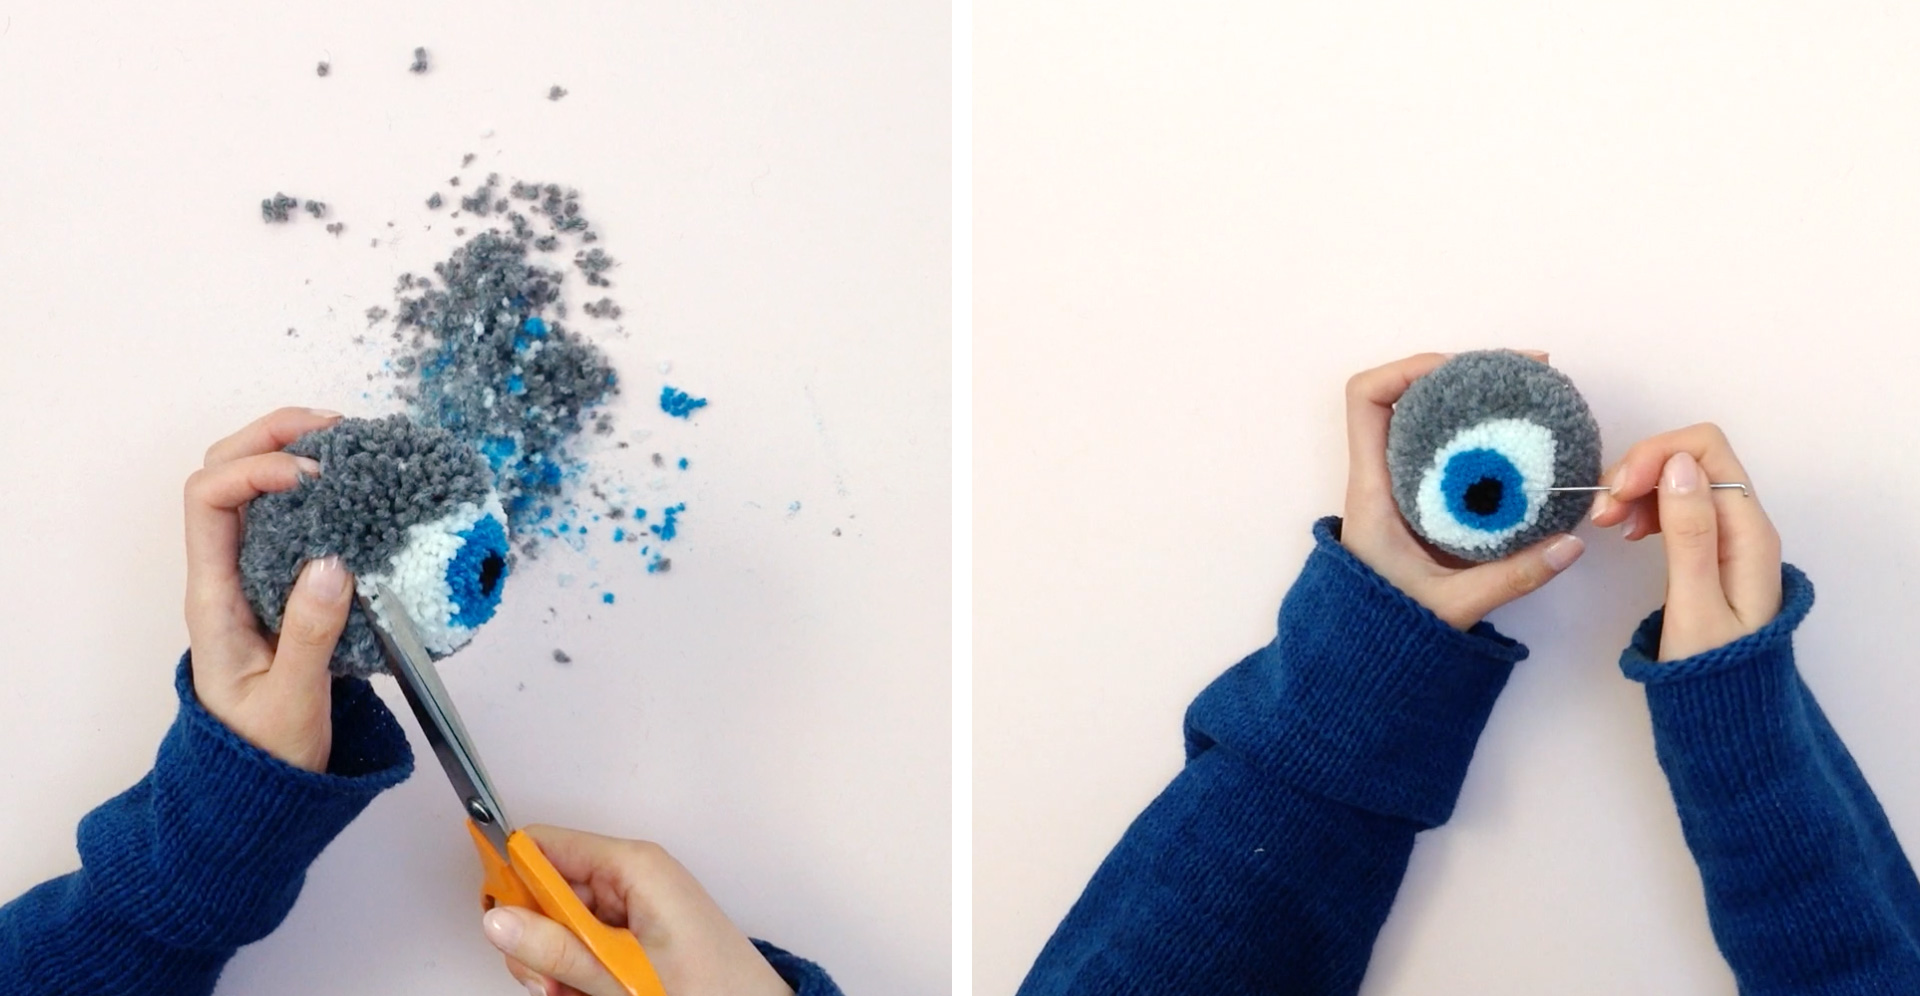
We’ve included a long trimming segment in the video. Below are some tips you can use while trimming.
Keep shuffling the yarn around to define the shape and find the longer threads to trim. You can use the end of the scissors or any small sharpish ended thing (technical term).
Snip along the boundaries of different colored yarn areas. Separate out the yarn parts and trim along the shape. Repeat until you get nice shapes.
You can also pull out a few unwanted threads.
Use a felting needle to gently fix the final shape that you like. Push your needle in from the sides through the boundaries of different colored yarns to help fix them where they are. Don’t over do this as you might end up with a rigid felted pompom. Keep it light and keep your pompom soft and fluffy!
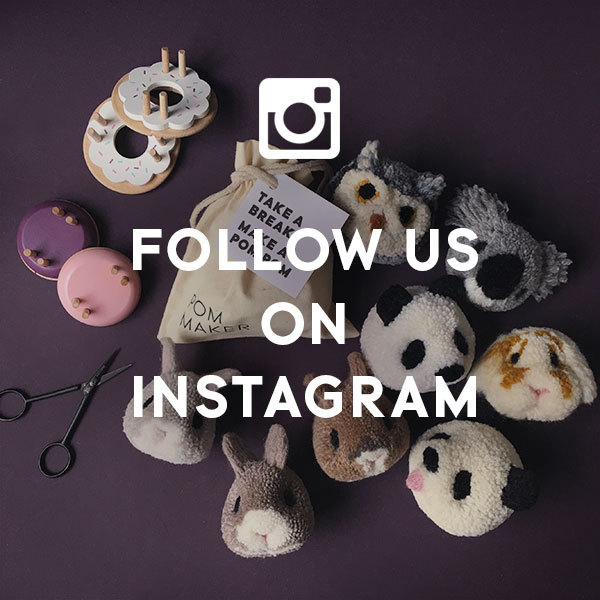
Happy pompoming & don’t forget to share with #WeArePomMakers. We love to see your creations!
Posts on Instagram with these hashtags will appear on our gallery and everyone will be happy to see them!