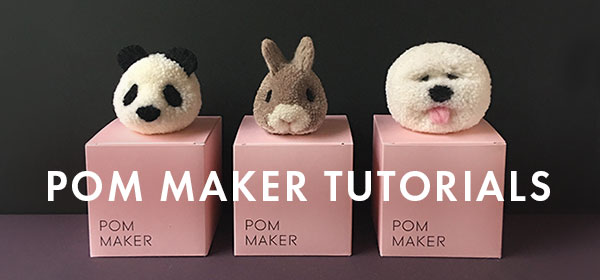
POM MAKER TUTORIAL
How to make a pom pom bearLearn how to make a fluffy teddy bear pom pom with Pom Maker
Learn how to make a fluffy teddy bear pom pom with Pom Maker
POM MAKER TUTORIAL
How to make a pom pom bearLearn how to make a fluffy teddy bear pom pom with Pom Maker
Learn how to make a fluffy teddy bear pom pom with Pom Maker
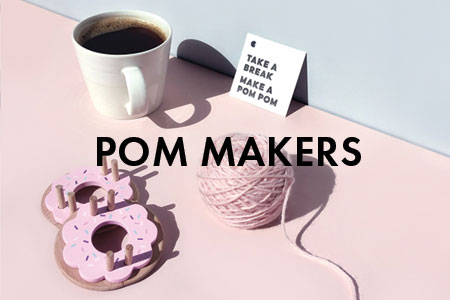
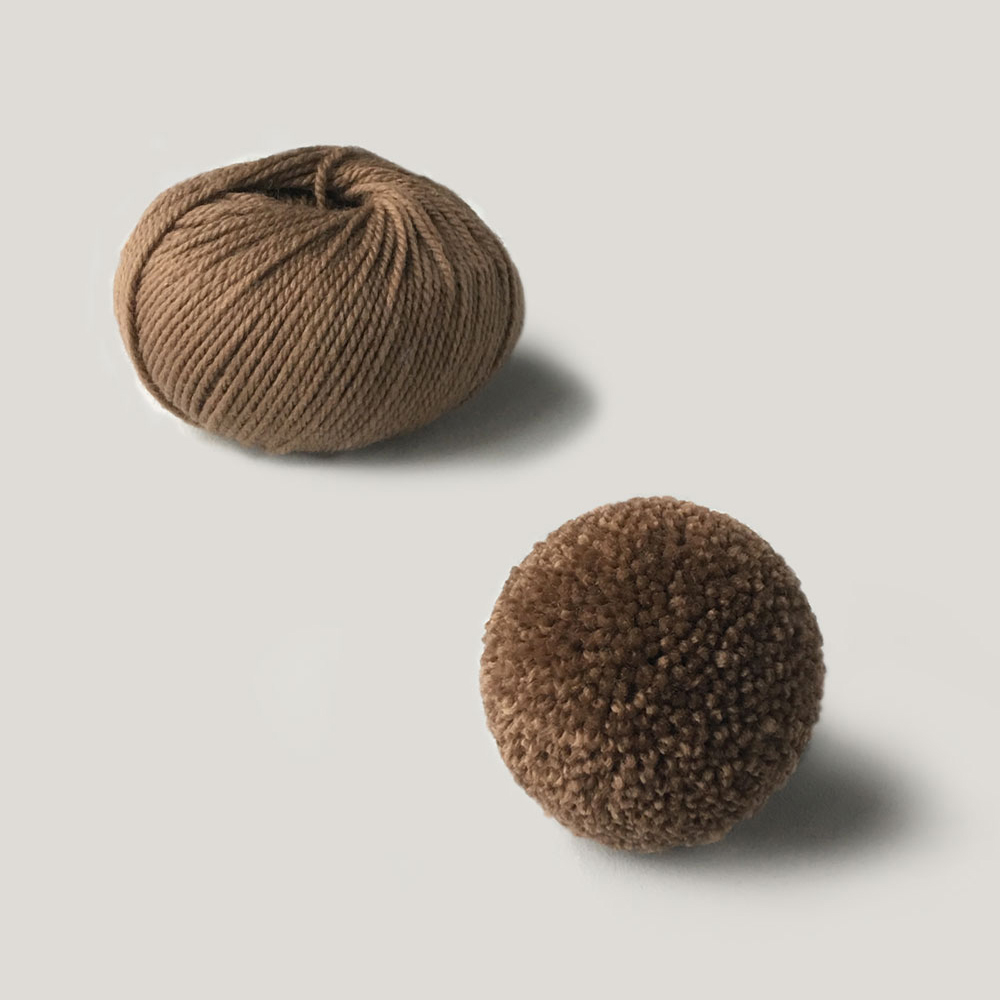
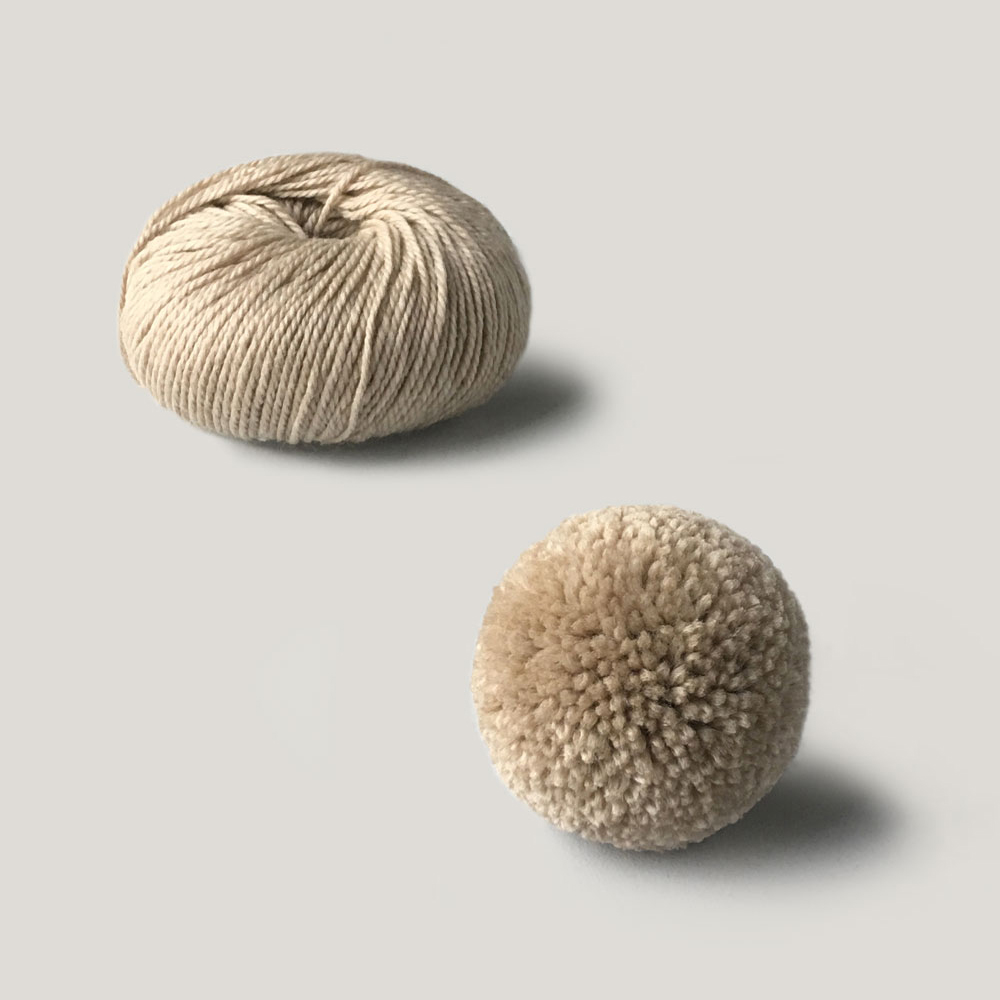
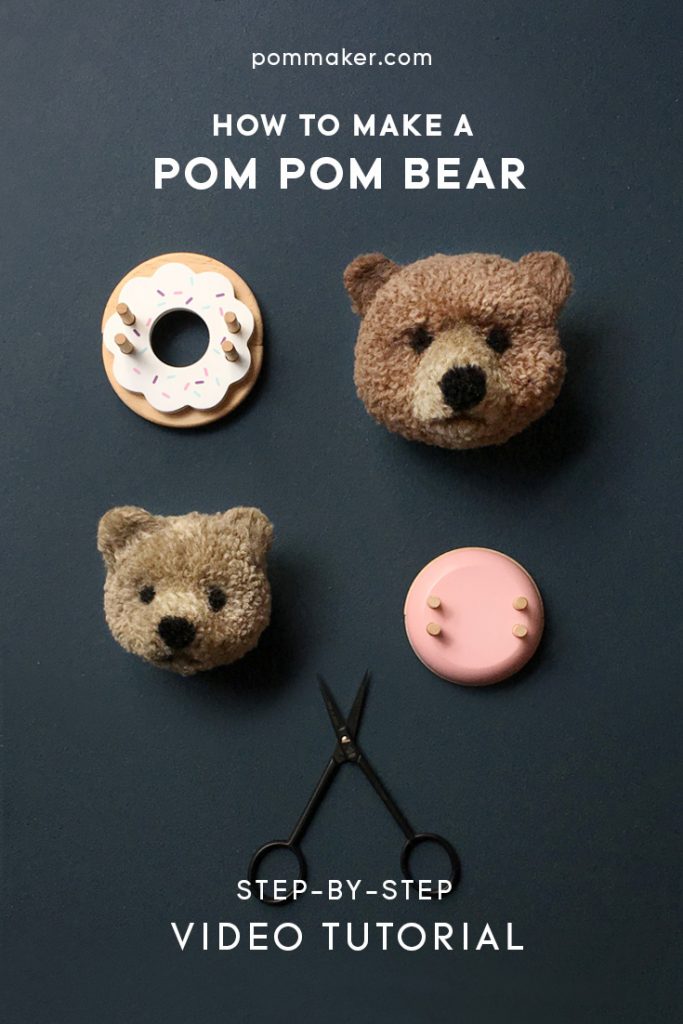
The fluffiness of a teddy bear’s face inspired our new pom pom project. We made a mama bear pom pom and a bear cub pom pom using two different sized Pom Makers. Both Donut Pom Maker (medium size) and Macaron Pom Maker (small size) are used in this tutorial to show you how you can make different size pompoms with the same method.
Enjoy!
What you need

Also
- Large fabric scissors
- Felting needle to shape the muzzle and make the ears
- Waxed thread is optional, but highly recommended. Use very strong non-slip thread if you can. You can also use dental floss.
- ideally one large and strong pair of fabric scissors for cutting the pompom and one small and sharp pair for some precise trimming (optional)
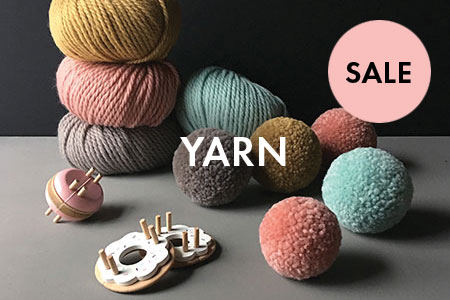
Choosing your yarn
- You'll need to choose a few shades of brown colors. Pick your main face color, then a lighter shade for the muzzle area, plus a very small amount of yarn that's a shade darker than the muzzle color for the mouth.
- You can use the same color yarn for both the main face and the muzzle for a simpler version like the baby bear pompom in the tutorial.
- A little bit of black yarn for the nose and the eyes.
- If you're an experienced pom pom maker, try adding a cute tongue by adding a bit of pink yarn. The method for this is shown in our pompom dog tutorial.
STEP BY STEP
Follow our detailed tutorial below for making a pom pom teddy bear
For the main instruction, we’ll use a Donut Pom Maker (medium size) for making a mama bear.
You can use a Macaron Pom Maker (small size) to make a smaller baby bear. There’s short footage showing this at the end of the video tutorial.
The method is exactly the same, except you’ll need to reduce the number of wraps slightly for each step.
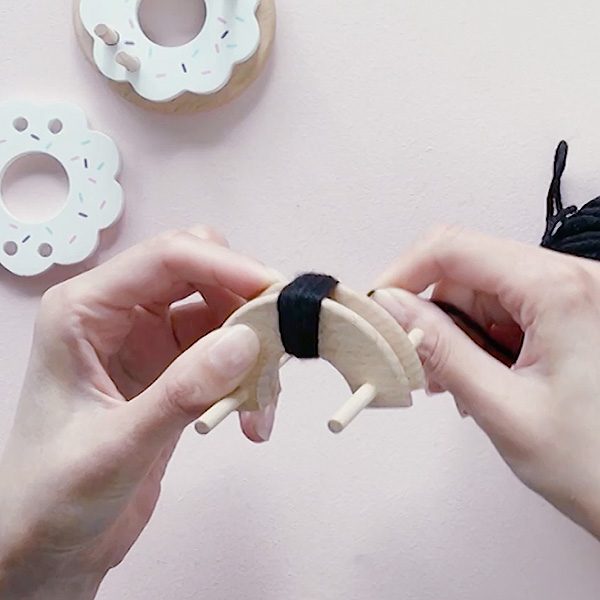
1.
Black Nose
Wrap approx 18-20 counts of black in the middle, but slightly off to one side on your Pom Maker. Wrap it tightly covering approx. a finger tip width.
Adult bears have a slightly long, large nose and baby bear’s nose is smaller. So wrap slightly less yarn in a smaller spot for the baby bear if you’re using a Macaron Pom Maker. (approx. 15 times)
The shorter side from the nose will be the chin and the other side the top of the head.
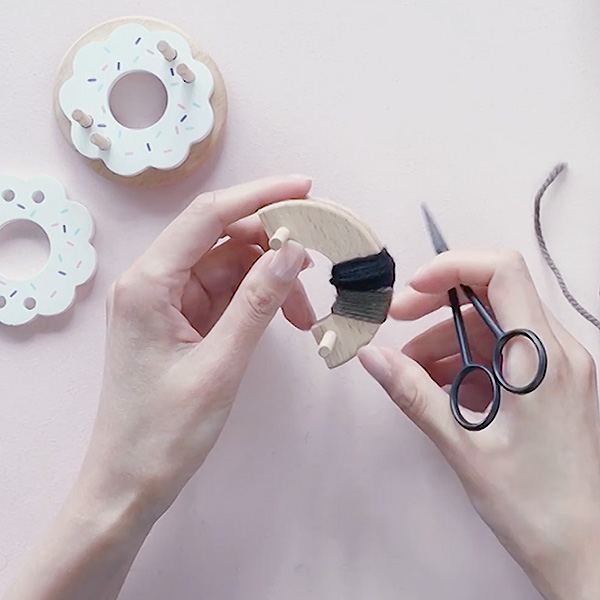
2.
Mouth
Wrap one layer of dark brown yarn (a shade darker than the muzzle color of your choice) right next to the nose, about half way towards the end of the Pom Maker.
3.
Muzzle
Wrap your muzzle yarn all over the nose and mouth.
Start from above the nose and wrap all the way to the other end. It will cover approx. 2/3 of the Pom Maker.
Build up about 5 layers. The area wrapped above the nose will naturally be fatter.
Note
You can use the same face color yarn for the muzzle for a simpler design as we did for the baby bear in the video tutorial.
4.
The Head
Now wrap some of your main face yarn on the exposed area of the Pom Maker. Overlap the muzzle yarn slightly as you do it.
Build up about 3-4 layers.
5.
Eyes
Wrap the black yarn very tightly where the two wrapped parts meet.
Wrap about 12 times in a very small spot.
Note
The side with the eyes will be the top of the head. Remember this side or make a little knot on the bar on this side of your Pom Maker to mark it.
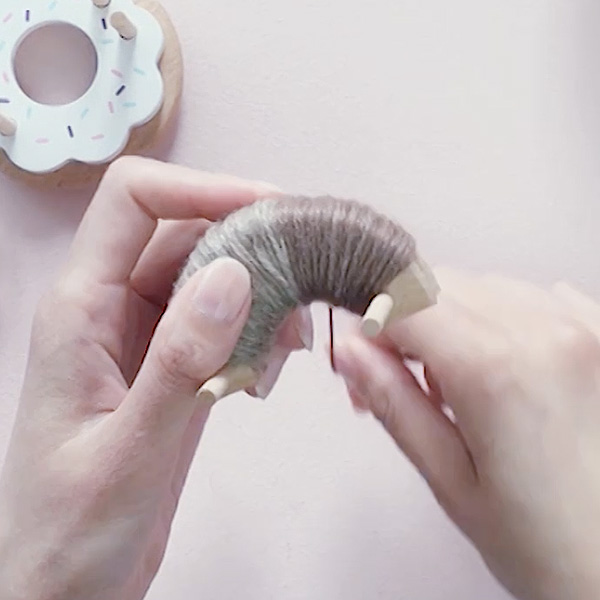
6.
The Rest of The Face
Now wrap the brown yarn for the face all over the Pom Maker. Continue building many layers until your Pom Maker is full.
7.
Ears
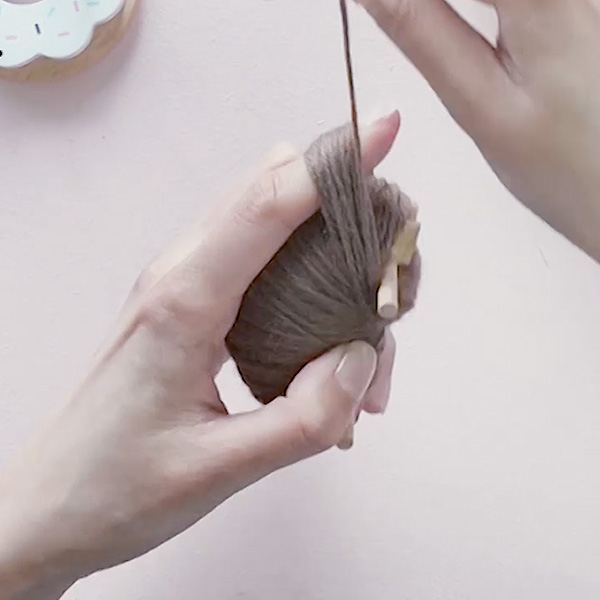
Put your finger lightly over the head end (the side with the eyes).
Wrap more brown yarn over your finger approx. 18-20 times.

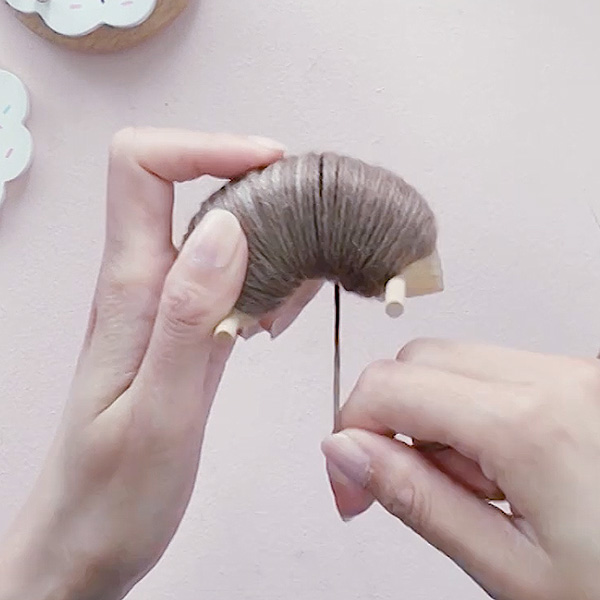
8.
The Back
Wrap the other half of your Pom Maker in solid brown yarn. This will be the back of the bear’s head.
Tip
Hold two or three strands of yarn together to speed up your wrapping.
9.
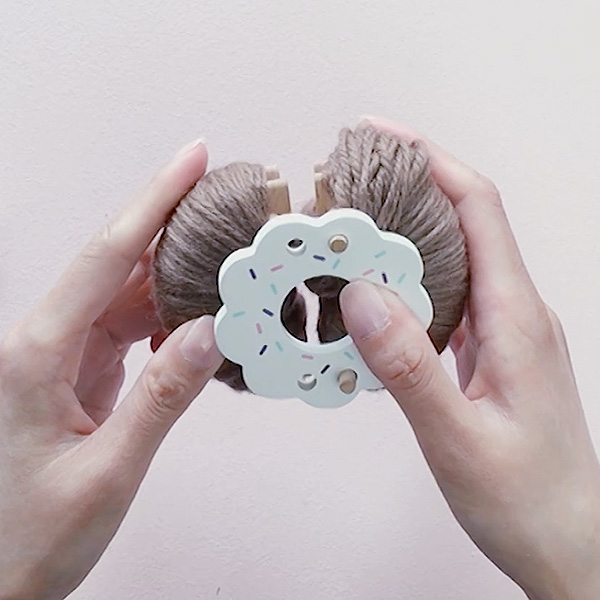
Assemble
Bring the two halves together and put your frostings on.
See this post to learn how to use our Pom Maker if you’re new to it.
10.
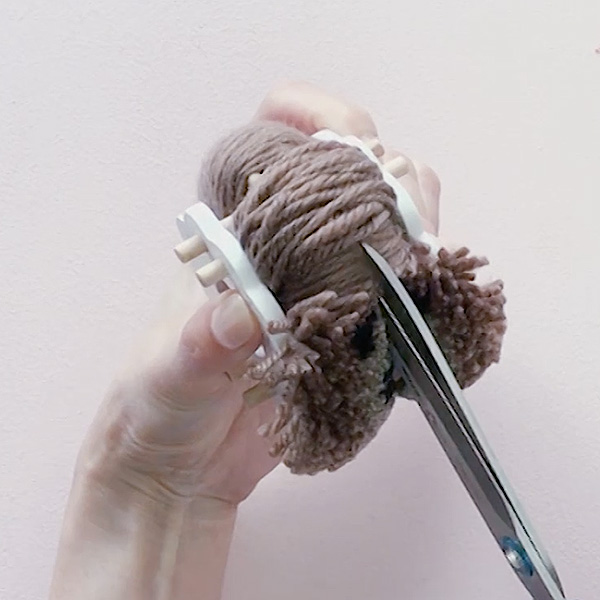
Cut
Cut through the middle. A bear’s face will emerge!
14.
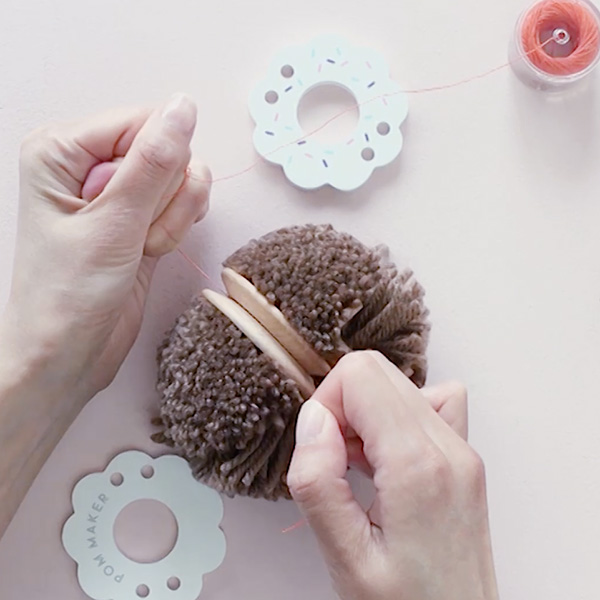
Tie
Run waxed thread around the Pom Maker, make a knot and pull hard.
Repeat this a few times to make a very strong tie.
You can use any strong thread if you don’t have waxed thread, however waxed thread makes it so much better and we highly recommend it.
See our full post about it as this is one of the top secrets to making a great pompom!
15.
Trim around the Eyes
For trimming, start by cutting around the eyes. See the area marked in with a pink dash line in the picture, like a sleeping mask for the bear.
Trim yarn in this area. Be careful not to trim the muzzle yarn .
16.
The Nose
Gather the muzzle yarn and the nose together with your fingers.
Poke with a felting needle through this, from outside towards the center. Repeat until the nose and muzzle are nicely held together and shaped.
You can also now trim the muzzle yarn slightly and carefully around the nose to a shape you like.
17.
Felting the Mouth
Split apart the dark yarn under the nose into two.
Felt each side until both sides are neatly divided.
18.
Continue Felting the Mouth
Hold part of the muzzle just below the nose with your fingers.
Push up the muzzle yarn below the mouth (on the chin) towards the mouth/nose. You’ll now have the muzzle yarn separated by the darker yarn in an upside-down ‘Y’ shape.
Poke your felting needle through the whole thing towards the center until the mouth shape stays fixed.
Trim along the mouth line and tidy up nicely.
19.
Felting the ears
Hold each ear yarn neatly and felt.
Move your felting needle through the yarn from the sides to bond each thread next to one another. Be very careful. Do this slowly and don’t get distracted – felting needles are very very sharp!
Wear a thimble and use a foam block to felt against if you can.
Continue felting until all the yarn’s bonded.
Cut them into round ear shapes.
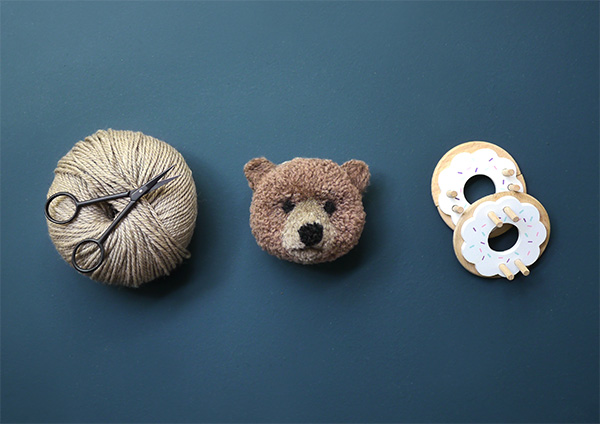
Hello Teddy Bear!
Thanks for bearing with us for this long tutorial! : )
Let’s introduce lots of pompom bears into this world. Make one for yourself and make another to make somebody happy!
No two bears are exactly alike, so experiment with different colors, facial marks and features. Brown grizzly bears, polar bears, cute teddy bears with friendly faces, honey loving bears with cute little button noses or big friendly curious noses… You can create many variations by trying different wraps.
Happy pompoming & don’t forget to share with #WeArePomMakers
We love to see your creations!
Share the love
- SHOP
- TUTORIALS
Pom Maker Hacks
For Kids & Holidays
- SOCIAL POM POM