Trim the top half ‘head’ part into a round shape. Trim gradually less toward the middle and don’t trim the bottom half.
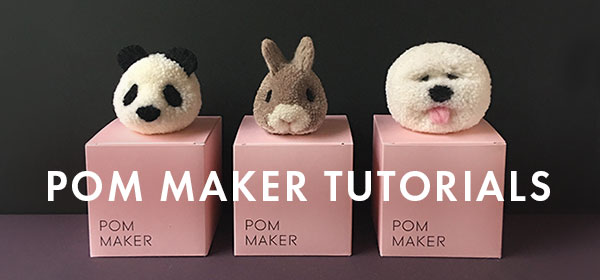
POM MAKER TUTORIAL
How to make a ghost pom pomLearn how to make a spooky pom pom ghost with Pom Maker
Learn how to make a spooky pom pom ghost with Pom Maker
POM MAKER TUTORIAL
How to make a ghost pom pomLearn how to make a spooky pom pom ghost with Pom Maker
Learn how to make a spooky pom pom ghost with Pom Maker
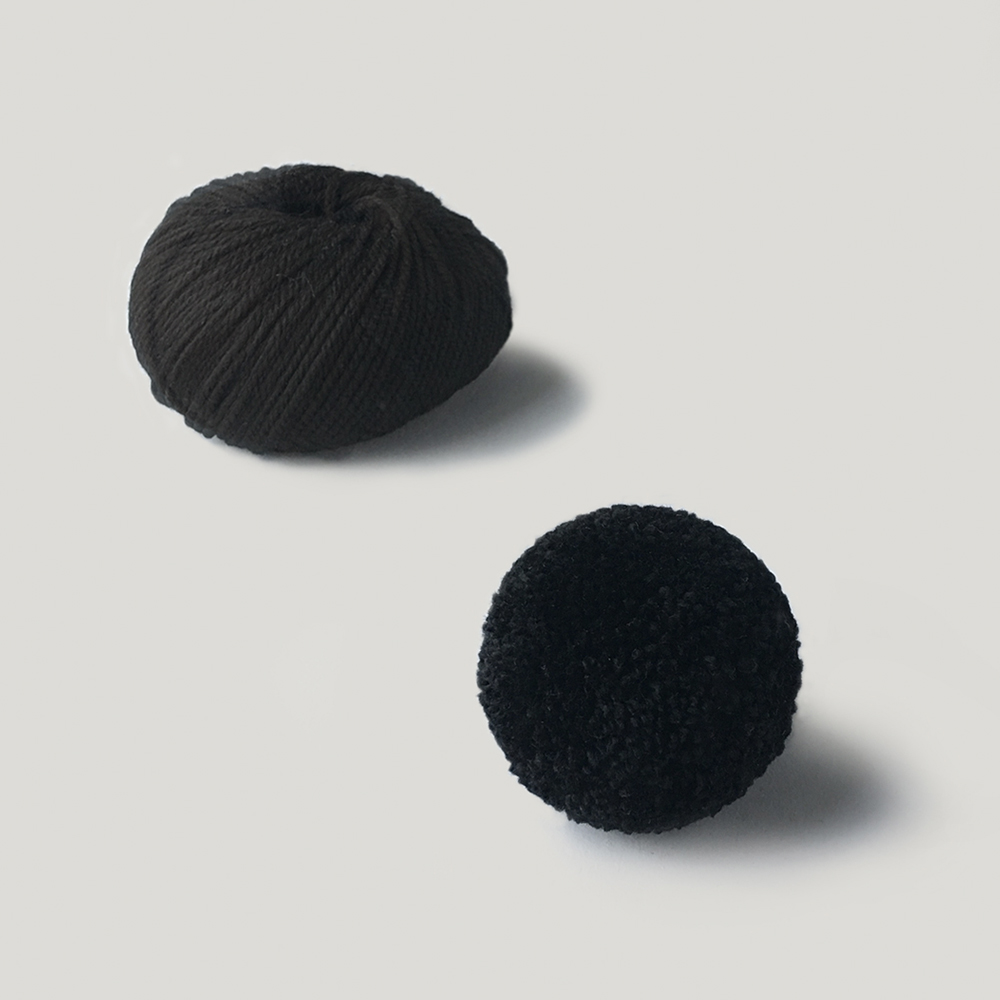
Let’s learn how to make a cute pompom ghost with your Pom Maker. This is a perfect last minute pom pom project for Halloween. It only takes 20 – 30 minutes (less if you’re a fast pom maker) and you only need some black and white yarn, your Pom Maker and scissors.
You could give it to the little ones instead of the sweets (or together), they will find these soft, cuddly ghosts delightful!
The original ghost pompom design & tutorial was previously published on our sister blog Mr Printables. It’s been our favorite go-to Halloween craft for years, so we’ve recreated it with a new video tutorial, just in time for this year’s Halloween.
Enjoy!

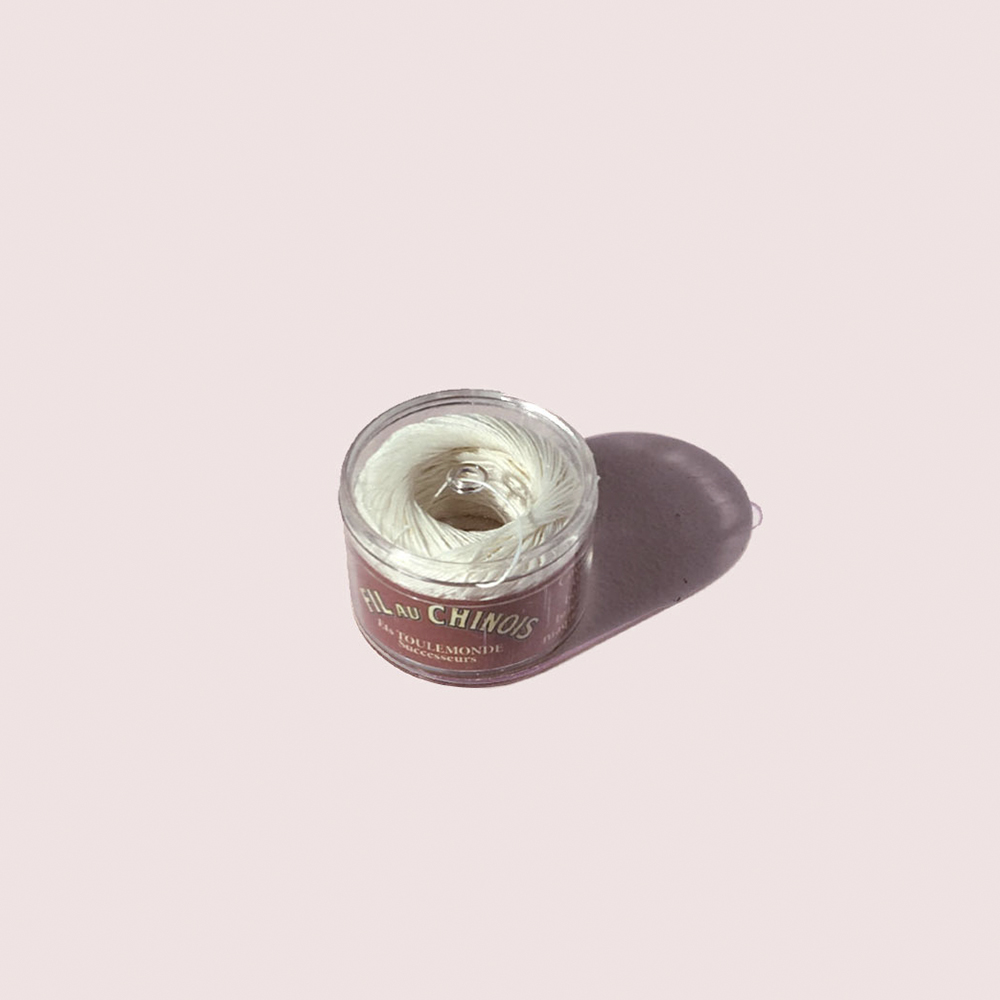
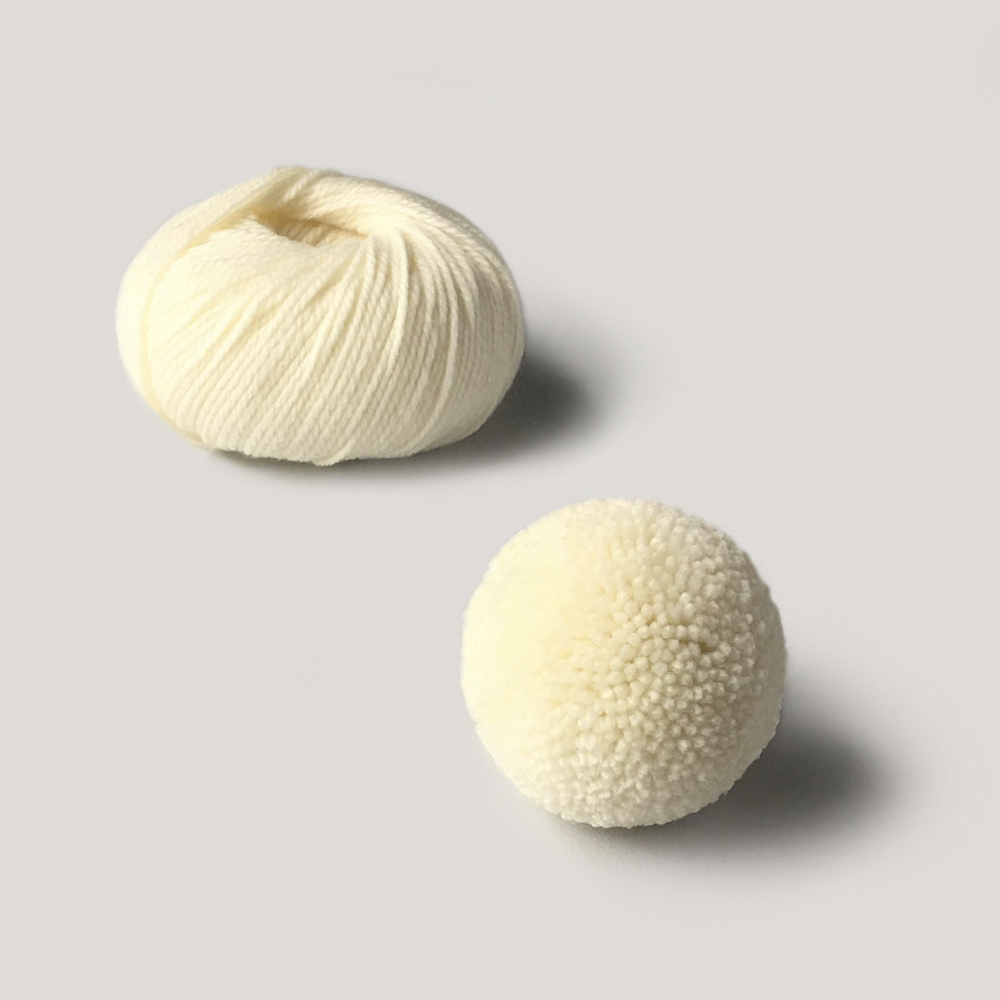
What you need
Also
- Large fabric scissors
- Waxed thread is optional, but recommended. Use very strong non-slip thread if you can. You can also use dental floss.
- Fine trimming scissors are good for small details.
STEP BY STEP
Follow our detailed tutorial below for making a yarn pom pom ghost
1.
The Mouth
Wrap approx 8 counts at a one-third position on your Pom Maker. Instead of wrapping all the yarn tightly on top of each other, spread it out a little bit to make the mouth look long and howling.
2.
Some white above the mouth
Wrap some white yarn on top and above the mouth (towards the nearer end of the Pom Maker arc). Build up approx 3 – 4 layers.
3.
The Eyes
Wrap a small amount of black on top of the white, slightly above where the mouth is underneath. Approx. 5-6 times. If you wrap tightly in one spot, the eye will be rounder and if you spread it out a little bit, you’ll have longer, sadder looking droopy eyes.
4.
The Head
Now wrap white yarn on top of the face. Wrap about two thirds of the area of your Pom Maker on the head side until you build up a thick layer.
5.
The Tail
Wrap the remaining one-third area with your finger or a pen placed on top of the Pom Maker, so the yarn is longer than elsewhere. This is for the longer ‘tail’ of the ghost, like a train of a dress.
6.
Repeat
Wrap the other half of the Pom Maker in white yarn only in the same way – two-thirds wrapped in a normal way and one third longer over a finger/pen.
7.
Cut
Put the two half circles together, with the head and tail ends correctly matching on the same side. Put your Pom Maker glaze on and cut all the way around.
Tie tightly with waxed thread or strong thread. (Watch our tutorial about the best way to tie a pompom if you need a tip!)
8.
Trim
Move the eyes and mouth yarn with fine trimming scissors and trim to refine the ghost’s facial expression. Make the eyes droopy and sad, the mouth long and howling with a slanted shape, for example.
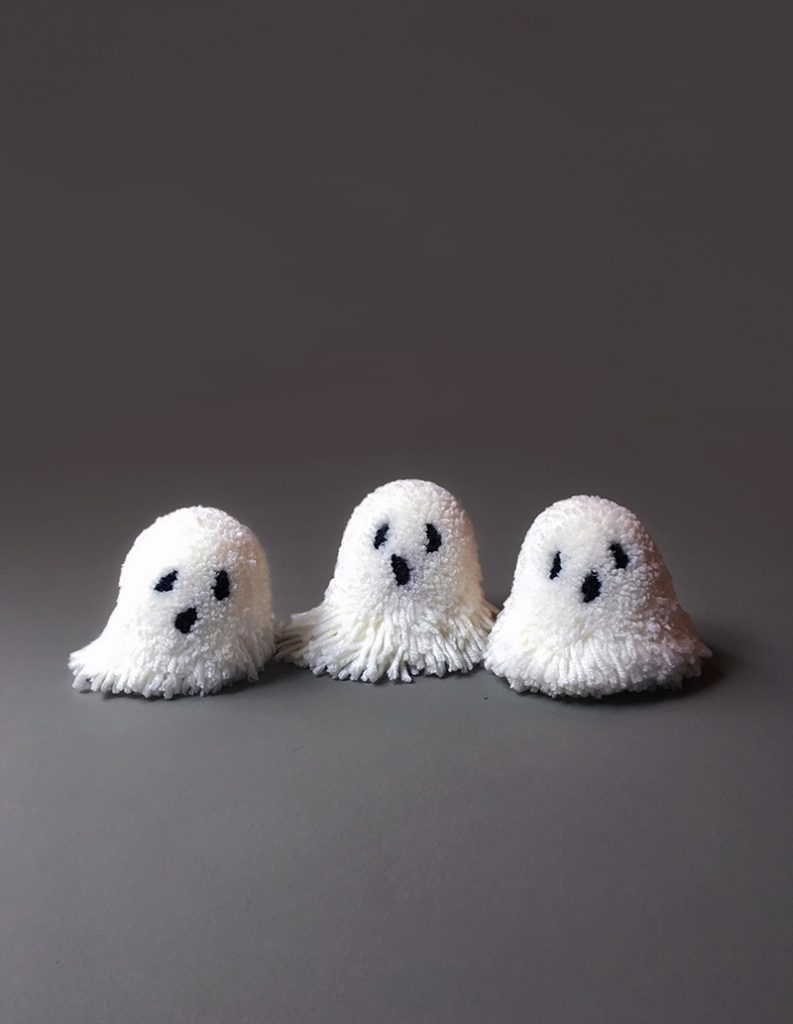
BOO!
Here we go! Sweet little ghosts trying to be spooky!
Hope this makes a lovely gift for Halloween or for any day for someone who loves ghosts. It will make a nice key ring or bag accessory too.
Happy pompom making & don’t forget to share with #WeArePomMakers
We’re over at @pom.maker and @wearepommakers on Instagram.
We also have a Facebook group where you can show your work and share tips with fellow crafters. Come and join us!
We love to see your creations!
0 0 votes
Article Rating
- SHOP
- TUTORIALS
Pom Maker Hacks
For Kids & Holidays
- SOCIAL POM POM
MENUMENU